Warning Lamp Test
Figure 1.1 – Engine Warning and Engine Shutdown Lamp

Special Tests
#Purpose:
The Special Tests function allows a specific diagnostic test to be selected so that it may be triggered. The tests that appear in the list depend on the current ECM. Today, we’ll check the Warning Lamp Test.
#Accessing:
To run the Special Tests function:
1). Open Cat ET and connect to the ECM. Read More: How to Connecting Caterpillar ET Software to the ECM.
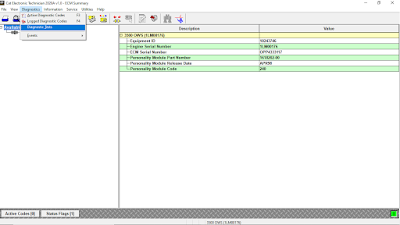
2). Select Diagnostic Tests from the Diagnostics menu.
Figure 1.2 – Diagnostic Tests (Diagnostics)
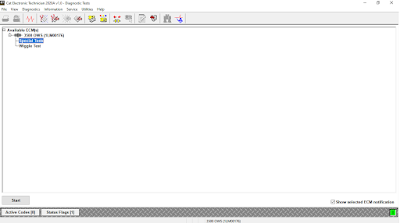
3). Select Special Tests from the submenu. The Special Tests screen is displayed, then click Start button.
Figure 1.3 – Special Tests
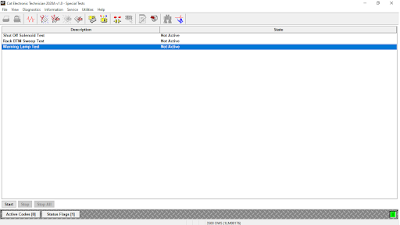
4). Select Warning Lamp Test, and click Start button to begin testing.
Figure 1.4 – Warning Lamp Test (Not Active)
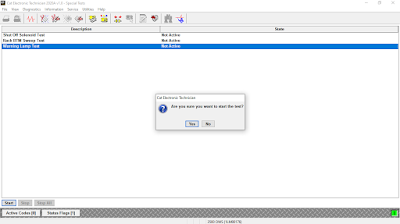
5). Click Yes to continue the test.
Figure 1.5 – Click “Yes”
6). Warning Lamp Test State will change from Not Active to Active. Please see both Engine Warning (Amber) Lamp and Engine Shutdown (Red) Lamp, should be activated (flashing), as Figure 1.1 above.
Figure 1.6 – Warning Lamp Test (Active)
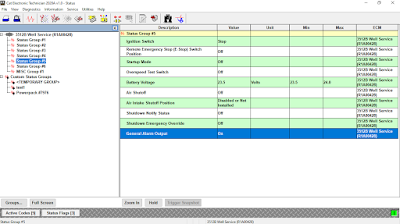
7). Monitoring Parameter on Status Tool CAT ET – General Alarm Output value will change from “Off” to “On”. Read More: Status Tool on Caterpillar ET Software.
Figure 1.7 – General Alarm Output (On)

8). Details on youtube below.
#Screen Layout:
The Special Tests screen has the following areas:
a). Display Area
The Special Tests display area has two columns:
* Description – Provides the name of the parameter.
* State – Displays the current state of the parameter: “Not Installed”, “Active”, or “Not Active”.
The Special Tests display area contains all of the available Special Tests for the currently selected ECM. Each ECM has one or more Special Tests displayed. However, only one test may be selected at a time.
b). Button
The buttons available in the Special Tests screen are:
* Start – After selecting one of the parameters, click this button to begin testing. This button is disabled until after the Stop button is clicked.
* Stop – Click this button to stop the selected special test in progress. This will change the state of the test. The Stop button is disabled until the Start button has been clicked.
* Stop All – Click this button to stop all special tests in progress. This button is enabled only when one or more tests are activated.