One of the special features of the Launch X431 OBD Scanner is that it allows us to provide technical support via the internet or remote diagnostics. This feature is very helpful, especially for those Launch X431 users having trouble with the vehicle they are diagnosing. This blog post will guide you through how to enable the remote diagnostic of Launch X431 if you need someone’s assistance.
Requirements to Enable Remote Diagnostic
1. Internet Connection
2. Valid Launch X431 User Account
3. Remote Technician
Procedure to Enable Remote Diagnostic
STEP 1 Plug the Bluetooth (DBSCar) to Vehicle Datalink Connector.

STEP 2 Turn the Ignition ON.
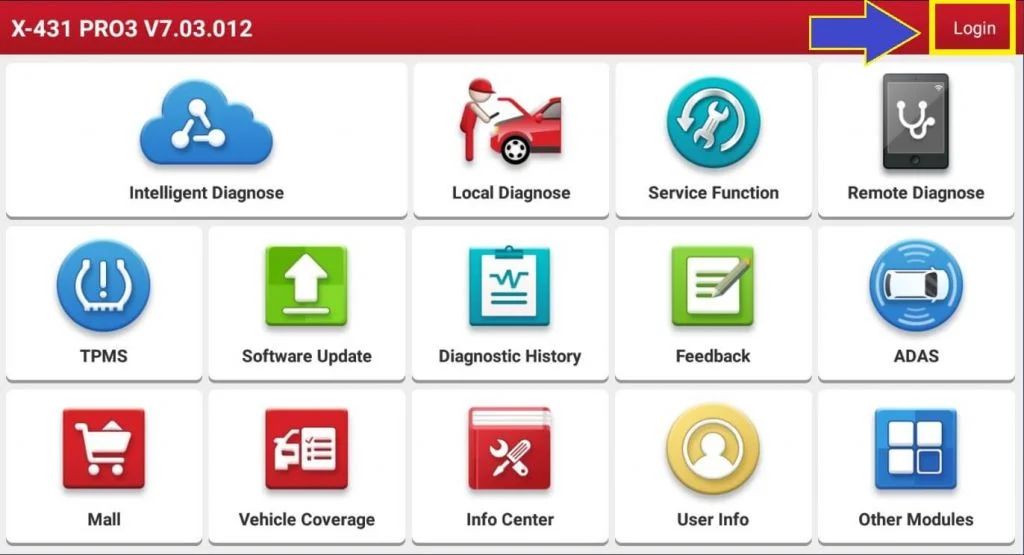
STEP 3 Please LOGIN to your Launch X431 Scanner. If you don’t see a login button, it’s possible that the account is already logged in.
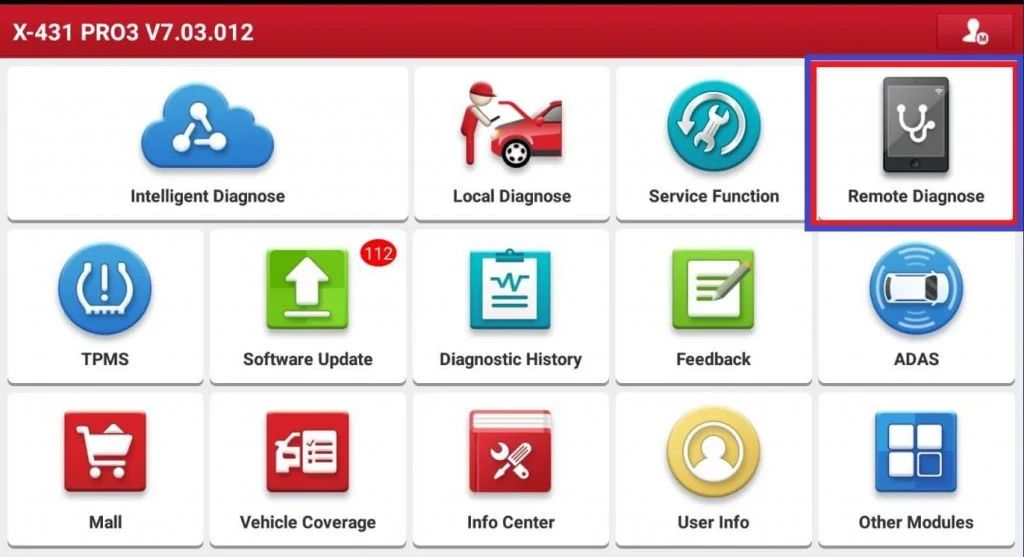
STEP 4 Select and hit the REMOTE DIAGNOSE option from the software menu.
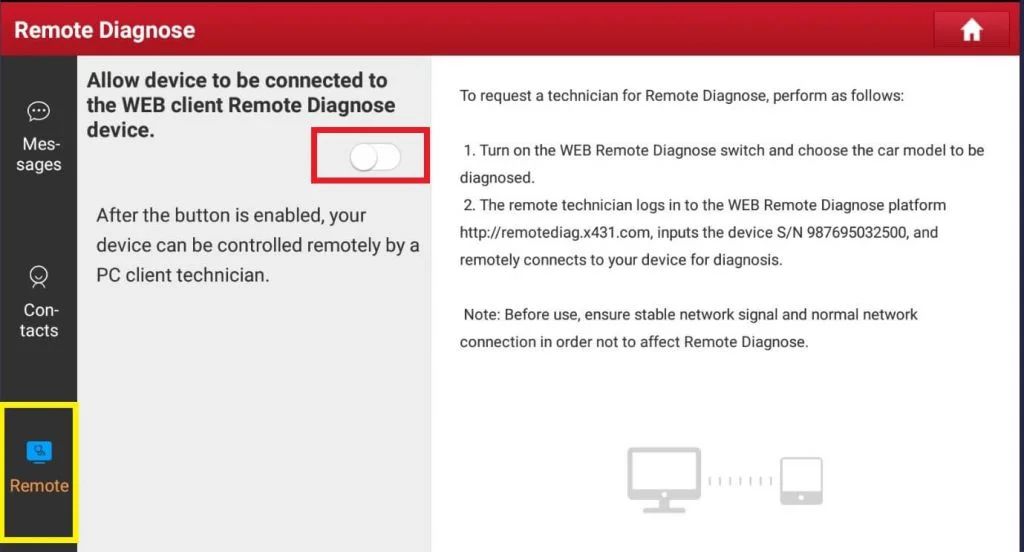
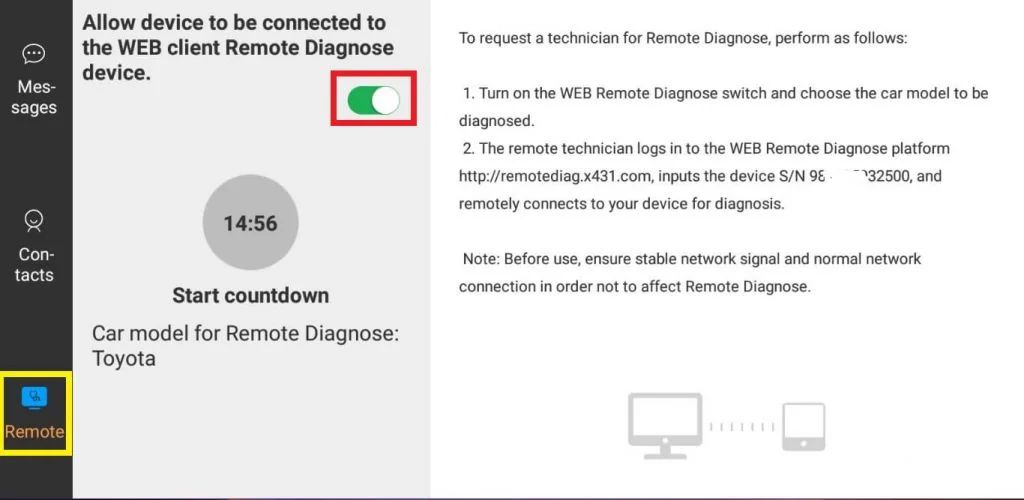
STEP 5 Select REMOTE from the lower left menu, then enable ALLOW DEVICE TO BE CONNECTED.
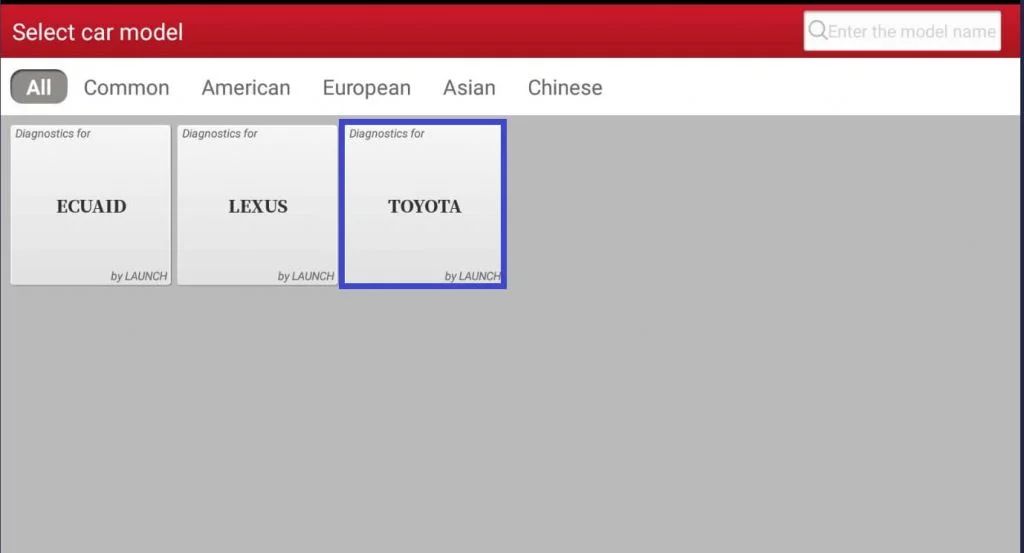
STEP 6 Choose the CAR MAKER of the car you scanned. In my example I am scanning TOYOTA.
STEP 7 The Scanner now is ready for REMOTE DIAGNOSTIC.
The above tutorial is the configuration for the remote device. The remote technician will be able to control the Launch X431 Scanner over the internet. The lesson below is for REMOTE TECHNICIANS who want to scan the vehicle from a distance.
FOR REMOTE TECHNICIAN If you’re a technician who wants to scan the scanner remotely, please follow the instructions below.
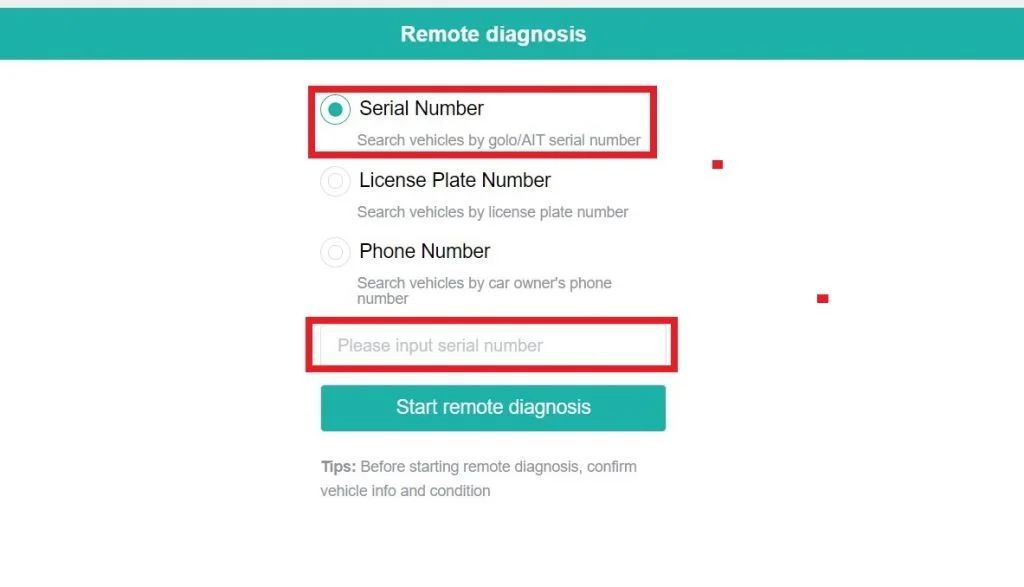
STEP 1 Visit remotediag.x431.com
STEP 2 Login your account, You can use the scanner user account.
STEP 3 Then input the serial number of the scanner that you want to remote.
STEP 4 Wait for the remote scanner to accept your request. You can start the scanning after the request is granted.