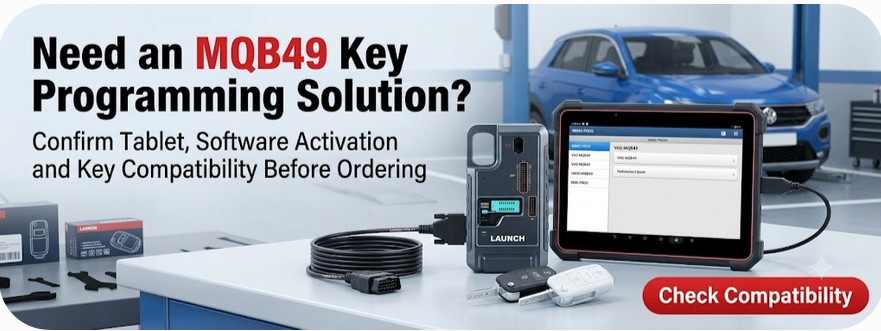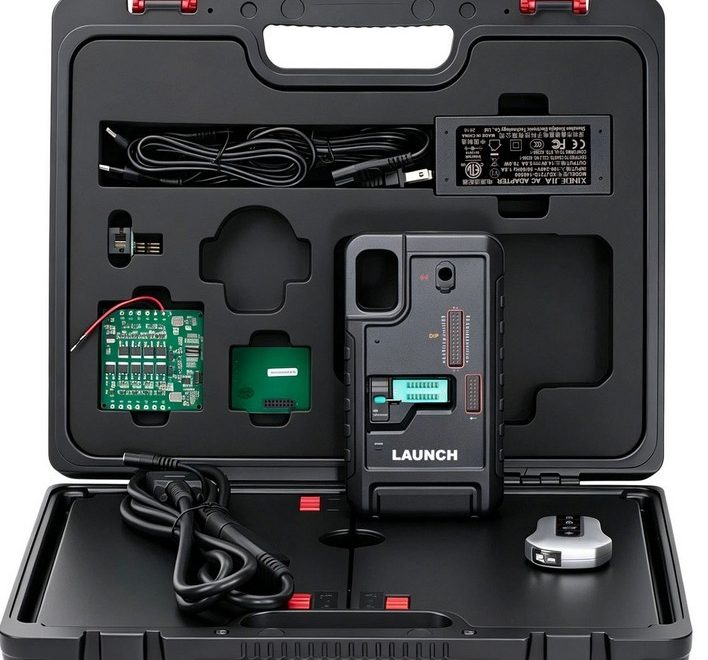
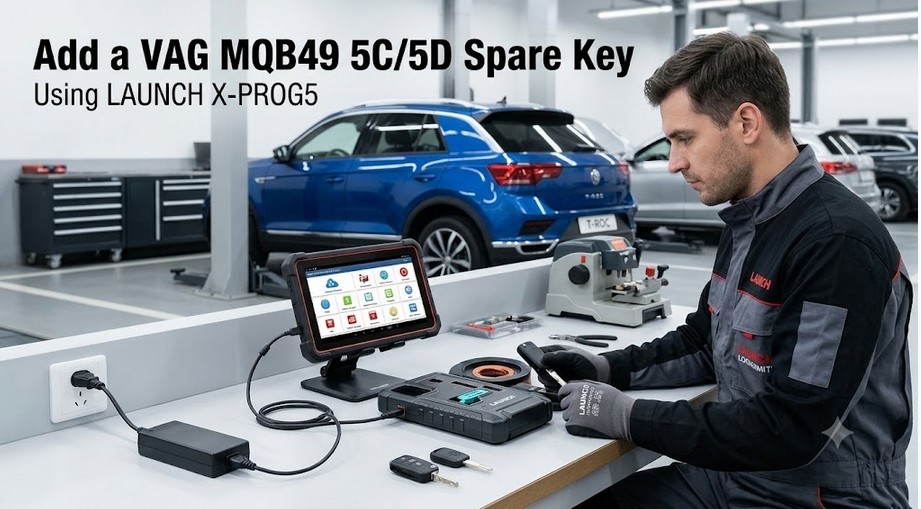
The LAUNCH X-PROG5, also known as PROG5 or G5, supports reading original VAG MQB49 5C/5D key data for spare-key programming. This guide uses a 2023 Volkswagen T-Roc with an MQB49 5C key as an example.
This procedure involves disassembling and soldering directly to the original key circuit board. It should only be performed by trained automotive locksmiths or technicians with the vehicle owner’s authorization.
Tools and Requirements
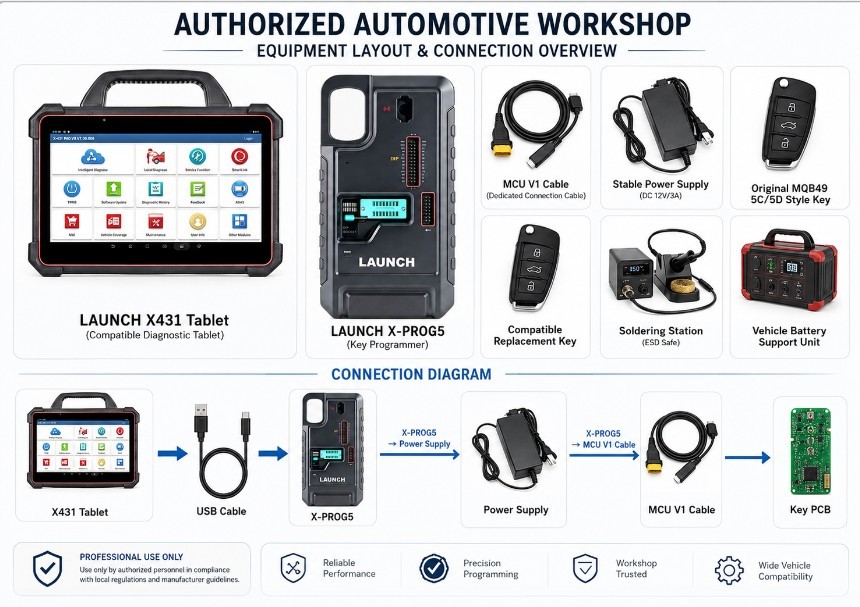
Prepare the following equipment before starting:
- LAUNCH X-PROG5 programmer
- Compatible LAUNCH X431 tablet, such as IMMO Plus, PAD V or PAD VII
- Activated VAG MQB49 immobilizer software package
- MCU V1 cable
- Stable power supply for X-PROG5
- Original working MQB49 5C/5D key
- Compatible new original key
- Soldering tools
- Vehicle battery support when performing key learning
Step 1: Connect X-PROG5 to the X431 Tablet
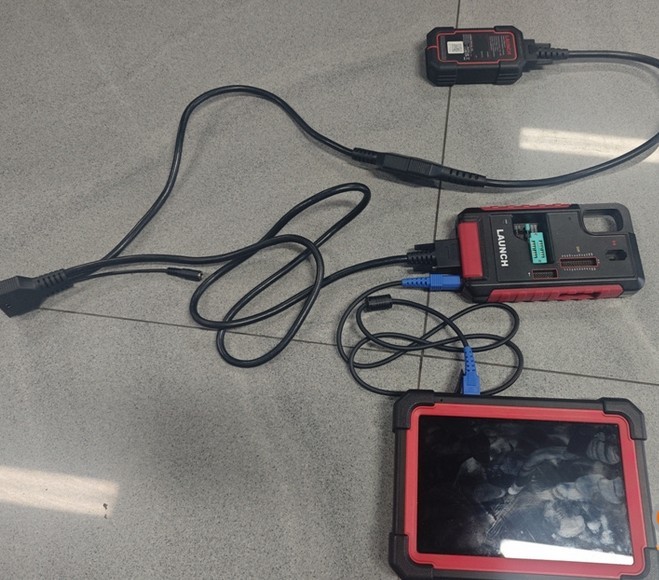
Connect the X-PROG5 programmer to the compatible LAUNCH X431 tablet using the USB cable.
Next, connect a stable external power supply to the X-PROG5.
The direct USB connection provides a straightforward communication method between the programmer and diagnostic tablet. Confirm that the tablet recognizes the programmer before continuing.
Step 2: Open the MQB49 Key Programming Menu
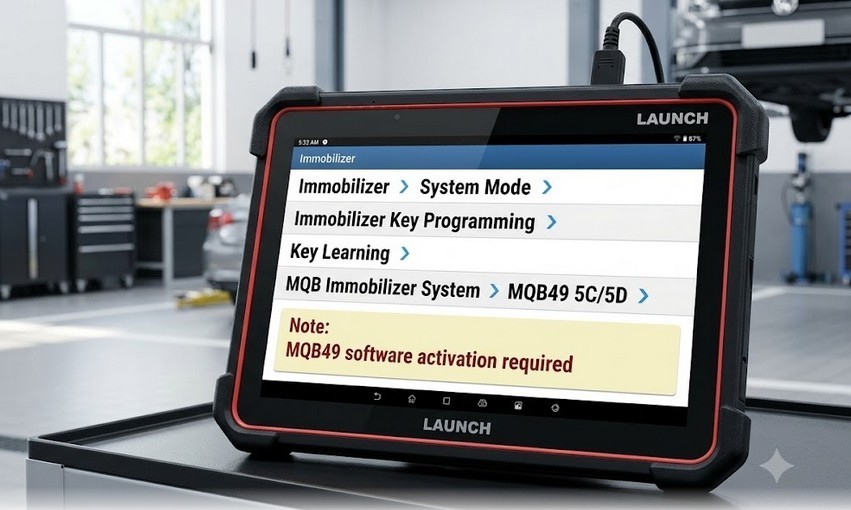
On the X431 tablet, open:
Immobilizer
System Mode
Immobilizer Key Programming
Key Learning
MQB Immobilizer System
Select:
MQB Type
MQB49 5C/5D
The VAG MQB49 function requires the corresponding immobilizer software package to be activated on the X431 device.
Step 3: Check the Key Wiring Diagram
Open the wiring diagram displayed by the diagnostic software.
MQB49 keys may use different circuit-board layouts, so compare the on-screen diagram carefully with the original key before soldering.
Confirm:
- Key-board version
- Test-point locations
- Wire colors
- Ground and power points
- MCU connection points
- Cable orientation
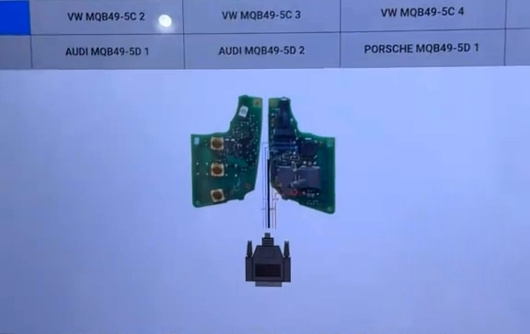
Do not continue until the wiring diagram matches the actual key circuit board.
Step 4: Disassemble the Original Key
Carefully open the original 5C or 5D key and remove the circuit board.
Avoid damaging:
- Key shell
- Circuit-board components
- Antenna coil
- Buttons
- Battery contacts
- MCU soldering points
Photograph the original board and cable orientation before connecting any wires. This provides a useful reference during reassembly.
Step 5: Solder the MCU V1 Cable
Following the diagram on the X431 tablet, solder the MCU V1 cable wires to the correct points on the original keyboard.
Use minimal heat and avoid creating solder bridges between adjacent components.
After soldering:
- Inspect every connection.
- Confirm that no pads have lifted.
- Check for short circuits.
- Compare the wiring with the on-screen diagram.
- Connect the MCU V1 cable to the X-PROG5 programmer.
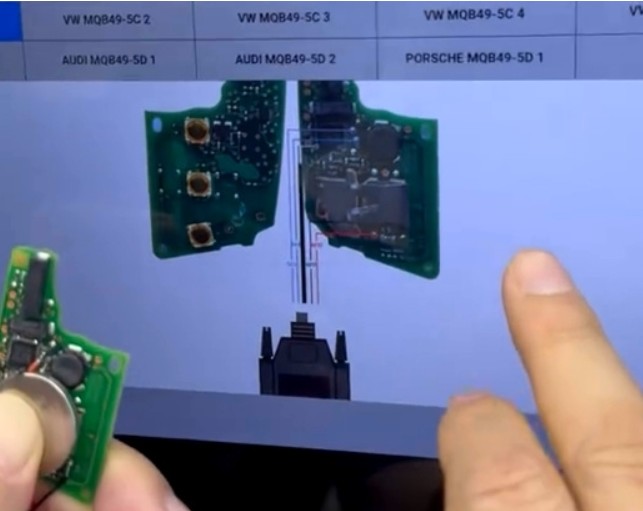
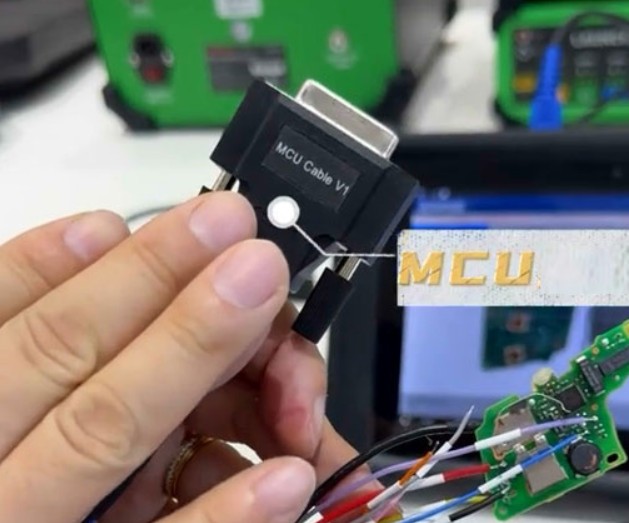
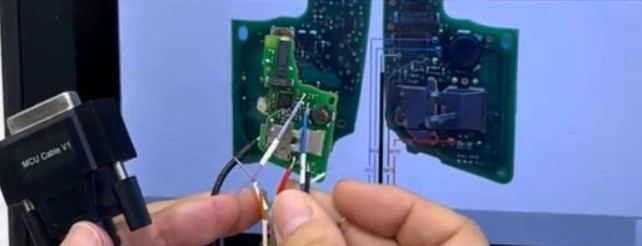
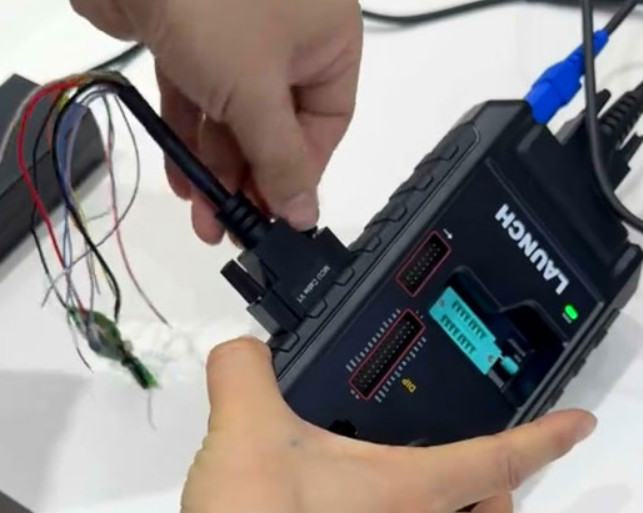
Incorrect wiring may prevent data reading or damage the key circuit board.
Step 6: Read and Save the Original Key Data
Select Read Key Data on the X431 tablet.
The X-PROG5 will read the original MQB49 key information and extract the required security data, including the CS information supported by the procedure.
Save the data immediately using a clear filename containing:
- Vehicle model
- Model year
- VIN or partial VIN
- Key type
- Date of operation
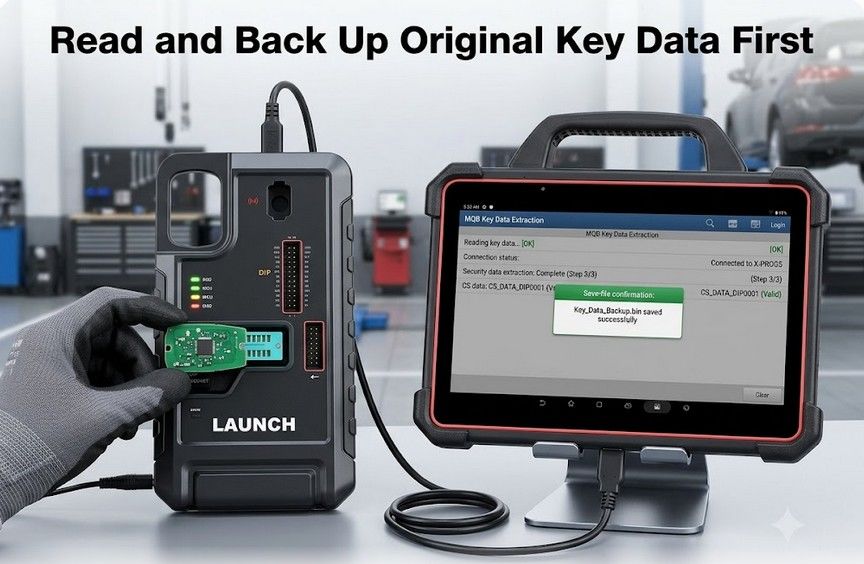
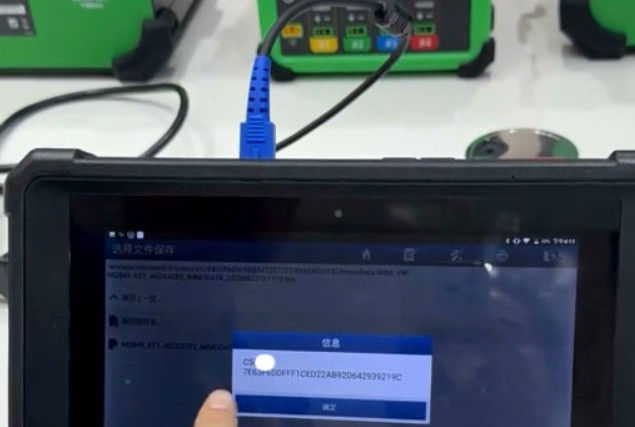
Do not disconnect the key, programmer, or power supply while data is being read.
Step 7: Prepare the New Key
After the original key data has been read and saved:
- Disconnect the original key from the programmer.
- Remove the soldered wires carefully.
- Disassemble the compatible new original key.
- Identify the correct circuit-board layout.
- Solder the MCU V1 cable to the new key according to the diagram.
- Recheck all connections before proceeding.
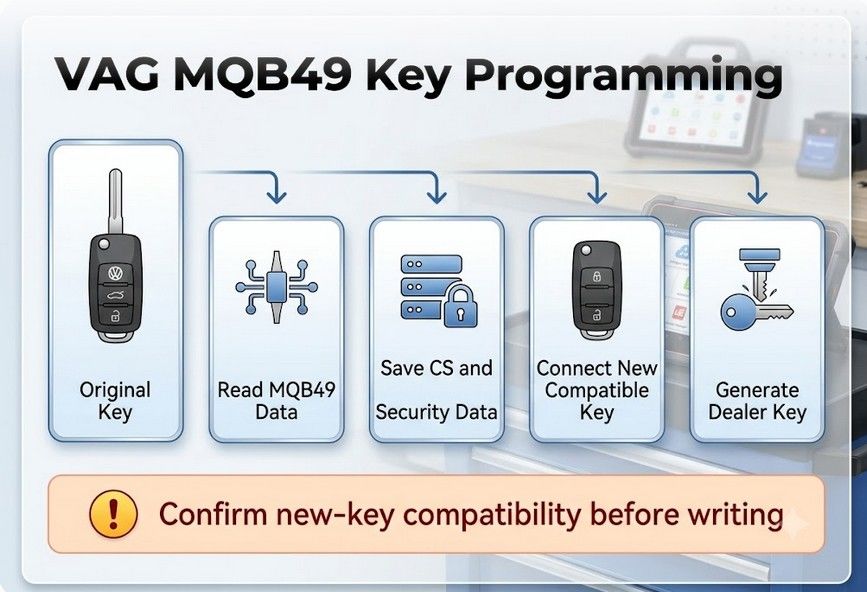
The replacement key must be compatible with the vehicle’s MQB49 immobilizer system and frequency requirements.
Step 8: Generate the Dealer Key
Return to the MQB49 5C/5D function menu and select:
Generate Dealer Key
Use the previously saved original key data when prompted.
Follow all on-screen instructions. Do not interrupt power or communication during dealer-key generation.
After the operation is completed, remove the soldered wires and inspect the new key board before reassembly.

Step 9: Perform Key Learning
Select:
Key Learning
Follow the X431 instructions to add the generated dealer key to the vehicle.
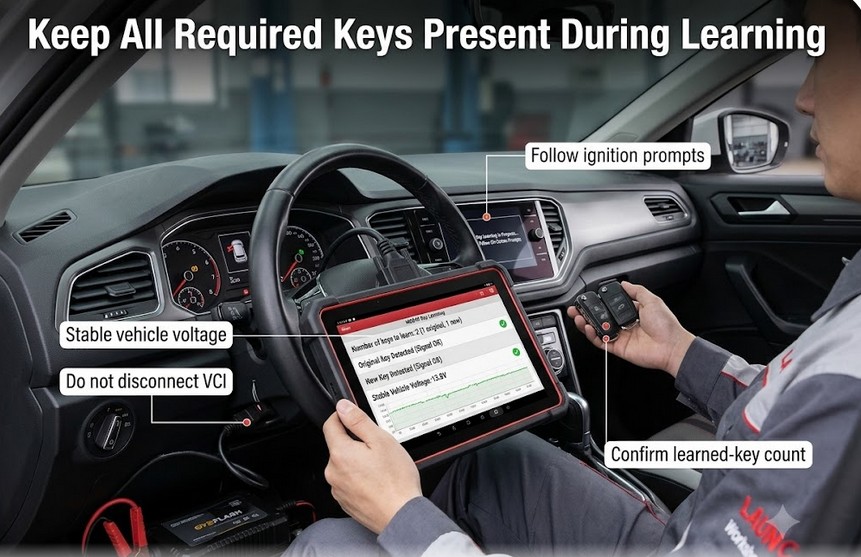
During key learning:
- Keep vehicle voltage stable.
- Have all keys that should remain functional available.
- Follow the requested ignition or key-position sequence.
- Do not exit the application.
- Do not disconnect the VCI or tablet.
- Confirm the number of keys after completion.
Some key-learning procedures may erase keys that are not present during the session. Read every on-screen warning before confirming the operation.
Step 10: Test Both Keys
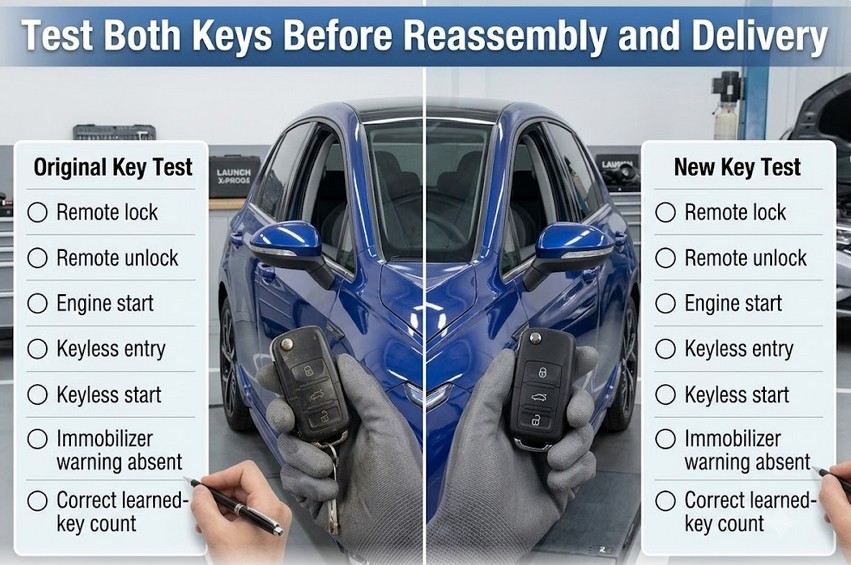
After key learning, test the original and new keys separately.
Verify:
- Remote lock and unlock
- Engine start authorization
- Keyless entry, where equipped
- Keyless start
- Emergency-start position
- No immobilizer warning message
- Correct number of learned keys
Reassemble both keys only after all functions have been confirmed.
Common Problems and Checks
X-PROG5 Cannot Read the Original Key
Check:
- MCU V1 wiring
- Solder-joint quality
- Correct key-board diagram
- External power supply
- USB connection
- Programmer detection
- MQB49 software activation
CS Data Extraction Fails
Do not repeatedly retry without checking the connections. Reinspect every soldering point and confirm that the selected 5C/5D board type matches the original key.
Dealer-Key Generation Fails
Confirm that:
- The original key data was saved correctly.
- The new key is compatible.
- The new key board matches the selected diagram.
- The MCU cable is connected correctly.
- The software package is activated.
New Key Cannot Be Learned.
Check vehicle battery voltage, key compatibility, dealer-key generation status, and the number of keys requested during the learning procedure.
Important Safety Notes
MQB49 key programming involves security data and delicate circuit-board work. To reduce the risk of damage:
- Work only on authorized vehicles.
- Back up the original key data.
- Use a regulated power supply.
- Verify the diagram before soldering.
- Avoid excessive soldering heat.
- Keep the original key functional.
- Do not interrupt reading, generation, or learning.
- Test the new key fully before delivery.
Conclusion
The LAUNCH X-PROG5 can read original VAG MQB49 5C/5D key data, extract the required security information, generate a dealer key and complete spare-key learning through a compatible LAUNCH X431 tablet.
The most important steps are selecting the correct keyboard diagram, making accurate MCU V1 solder connections, saving the original data, and maintaining stable power throughout the procedure.