Here are steps to install DRB3 emulator for Chrysler diagnosis and programming.
DRB3 emulator download link:
DRB III Emulator definition:
DRB III Emulator is the exact scan tool software application used in Chrysler, Jeep, and Dodge dealerships to service non-CAN based vehicles from 1998-2007.
Installation Notes:
In order to install the Enhanced DRB III Emulator, you must have the wiTECH Diagnostic Application (wiTECH 1.0) installed as well as all supporting software.
The wiTECH 1.0 can be downloaded and installed on a Windows PC from DealerCONNECT (DealerCONNECT > Service > wiTECH Information (Under the SERVICE TOOLS & EQUIPMENT section) > Legacy Tools > wiTECH Software Installer).
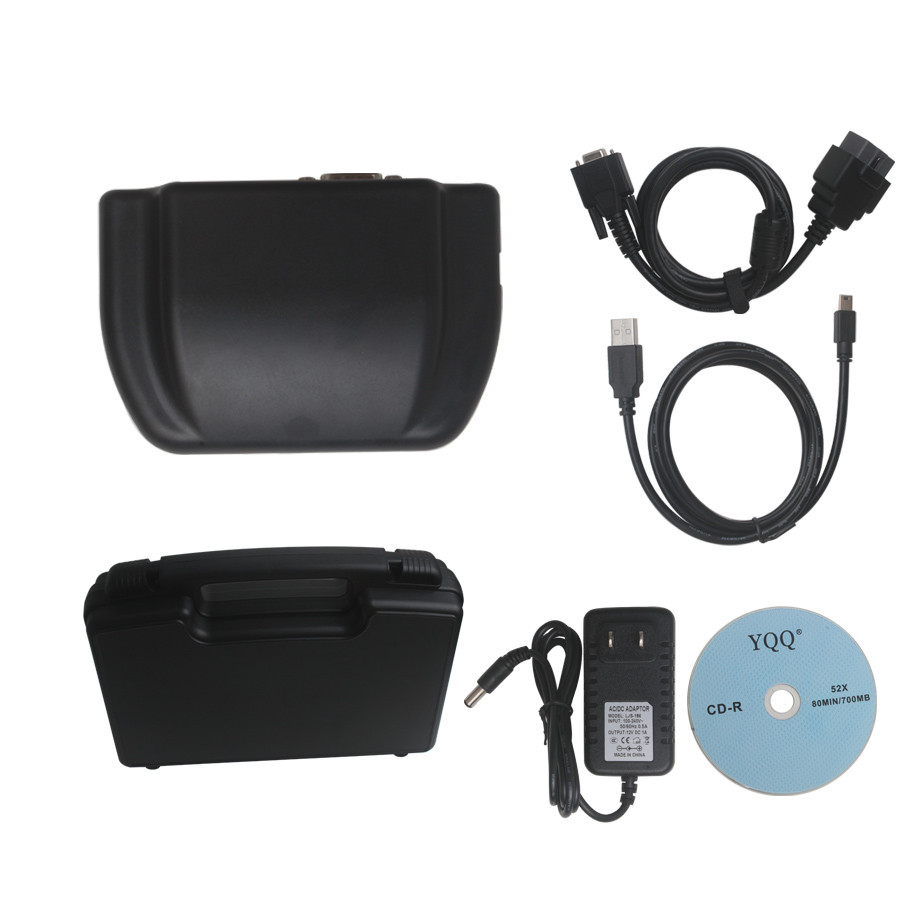
In order to install DRB III Enhanced Emulator you must have a microPod II Device that has Entitlements for the Enhanced version. This is different that those for the wiTECH Diagnostic Application (wiTECH 1.0) or the Original DRB III Emulator. This microPod II Device will only work with the wiTECH Diagnostic Application (wiTECH 1.0) and Enhanced DRB III Emulator.
Steps to DRB3 Emulator on Win7/Win10:
- Connect the microPod II device that will be used with Enhanced DRB III Emulator to a Windows computer that has the wiTECH Diagnostic Application (wiTECH 1.0) either through the USB-microUSB cable or by plugging the microPod II device into a vehicle’s OBDII port and having both the microPod II device and the computer on the same wireless network.
- Use the following link to add a wireless profile to the microPod II, if not already done: https://kb.fcawitech.com/article/330/how-to-configure-wireless-settings-on-a-micropod-ii-setup-for-enhanced-drb-iii-emulator-832.html
- Open the wiTECH Diagnostic Application (wiTECH 1.0) and look for the microPod II device in the connection wizard.
- In the example below, the microPod II device name is “wiTECH 1.0 microPod.” It has been discovered over Wi-Fi and USB.

- Once the device is found in the connection wizard, click on the name.
- Clicking on the name will cause the “Launch DRB III Enhanced” button to appear to the left of the “Next” button in the bottom right corner.
- If the button appears with “Launch DRB III” with no “Enhanced”, you will need to contact the Help Desk to get the Enhanced entitlements added.

- Click the “Launch DRB III Enhanced” button and accept the EULA that is presented. A warning will be presented indicating that Enhanced DRB III Emulator is not installed. Press “OK” to start the installation process.

- The wiTECH Diagnostic Application (wiTECH 1.0) will now close and the “Enhanced DRB III Emulator Stub” will begin to install. Follow through any dialog prompts to continue the installation.

10.With the “Enhanced DRB III Emulator Stub” installed, select the check box for “Enhanced DRB III Emulator Application vx.xx.xxxx” and click the “Install” button in the bottom right corner of the window.

11.Follow through any dialog prompts to complete installation. Once installation has completed, open the wiTECH Diagnostic Application and select the microPOD II device using the Connection Wizard. Click the “Launch DRB III Enhanced” to open the Enhanced DRB III Emulator. The emulator will appear as shown below if you are connected to a vehicle.

Note: You must be connected to a vehicle in order to launch the DRB III Enhanced Emulator.