To use BMW ICOM with BMW VirtualGT1, follow these steps in the specified order:
- Connect and Boot Up ICOM:
- Plug the ICOM device into the car’s OBD port.
- Wait for the ICOM to boot up completely.
- Start DisIcom Application:
- Launch the DisIcom application on your laptop.
- Ensure that the ICOM device appears in the application.
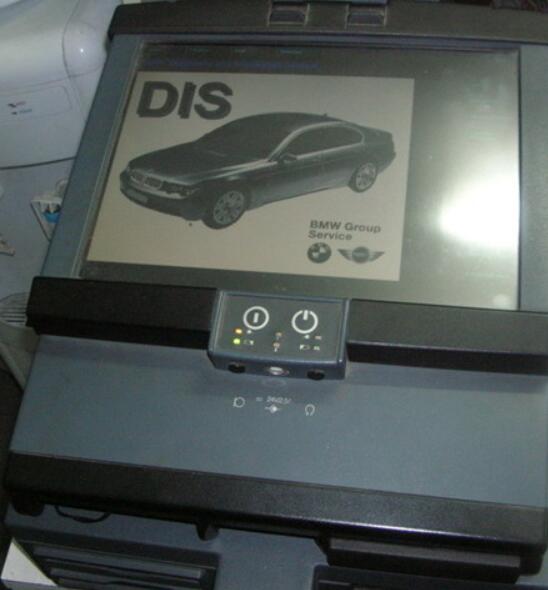
- Start the DIS or TIS VM:
- Launch the DIS or TIS virtual machine (VM).
- Login to VM:
- When the VM screen with a triangle shape appears, press
Alt+F1and wait. - When the “Login” line appears, press
Alt+F2.
- When the VM screen with a triangle shape appears, press
- Set Up Connection:
- From the main screen of the VM, navigate to
Administration >> Connection setup. - Verify that your laptop’s IPv4 address is displayed.
- From the main screen of the VM, navigate to
- Reserve ICOM:
- Minimize the VM.
- In the DisIcom application, press the “Reserve” button for your ICOM head.
- Connect VM to ICOM:
- Return to the VM and press the “Connecting” button. The connection should now be established.
- Diagnosis or Programming:
- Use the navigation buttons to return to the main screen of the VM.
- Select
Diagnosis(and your car model) orProgramming.
- Switch On Ignition:
- Use the key to switch on the ignition. You can start the engine if necessary.
- Proceed with Diagnosis or Programming:
- Continue with your desired diagnosis or programming tasks.
Example of Allocated IPv4 Addresses
- ICOM:
192.168.68.40 - Laptop:
192.168.68.123 - VM:
192.168.68.30
By following these steps in order, you can properly use the ICOM with BMW VirtualGT1 for car diagnosis and programming.
More information about bmw icom diagnostic tools, Please visit https://www.obd2tool.com