The integration of diagnostic software with vehicle systems is crucial for efficient fleet management and maintenance. PSI PowerLink is a widely used diagnostic tool that allows technicians to easily access and interpret vehicle data. To ensure seamless communication between your vehicle’s systems and PSI PowerLink, you must properly configure your diagnostic adapter. In this article, we’ll guide you through setting up a JPRO DLA+ Adapter for PSI PowerLink diagnostics.
Related Contents:
How to Install PSI PowerLink Diagnsotic Software
PowerLink from PSI PowerLink 2.3.1 Diagnostic Tool Free Download
JPRO DLA+ 2.0 Kit
Steps to Configure Your JPRO DLA+ Adapter
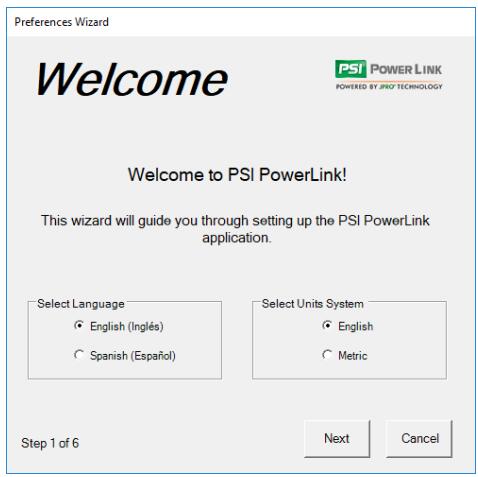
Step 1: Welcome Screen and Preferences
Upon launching PSI PowerLink, the Welcome Screen presents the option to choose your preferred language and units of measurement. It’s important to select the correct options to ensure clarity in your diagnostic reports.
Step 2: Customizing the Diagnostic Report
The Report Setting window is where you personalize your diagnostic reports. You can add a company logo and include your company name and address in the report header. These details often come pre-filled with your registration information but can be edited as needed. Use the ‘Print Preview’ button to check the appearance of your report header.
Step 3: Report Generation Settings
In the next step, configure PSI PowerLink to automatically generate a report with each vehicle connection. These reports can be accessed through the Vehicle History window. Additionally, you can choose a specific folder for saving these reports, which helps in organizing and retrieving them easily.
Step 4: Location Settings
For businesses with multiple service locations, it’s important to set the Location value correctly. This helps in identifying where the service was performed, as it prefixes the automatic filenames viewable in Vehicle History.
Step 5: Vehicle Tracking Options
PSI PowerLink offers the capability to track vehicles by Unit Number. Enabling this feature allows the application to automatically fetch this number, or prompt the user to input it manually if it’s not retrievable from the vehicle.
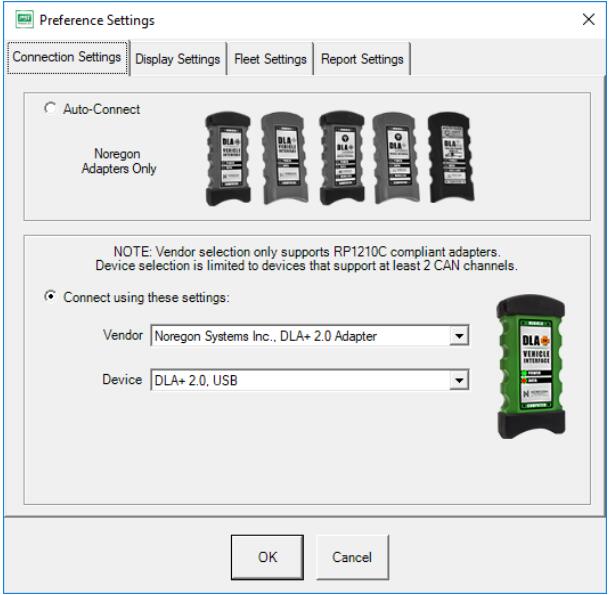
Step 6: Connection Settings
The final step involves setting up connection settings. For those using a Noregon adapter, simply select “Yes (Auto-Connect)” to enable automatic connection. If you are using a non-Noregon device, choose “No, (Advanced Settings)” and then select the appropriate Vendor and Device to establish a connection.
Step 7: Saving Your Settings
Once you’ve completed all the steps, click ‘Finish’ to save your settings. Your JPRO DLA+ Adapter is now ready to interface with PSI PowerLink for comprehensive diagnostics.
Changing Preference Settings
Should you need to adjust any preferences in the future, PSI PowerLink makes it easy. Access the Preferences Wizard at any time through the Application Settings – Preferences Wizard toolbar option. For quick adjustments to individual settings, utilize the Application Settings – Preferences option, which brings up a tabbed dialog for straightforward configuration.
Conclusion
Setting up your JPRO DLA+ Adapter for PSI PowerLink diagnostics is a straightforward process. Following the steps outlined above ensures that your diagnostic tool is tailored to your business needs and is ready to deliver accurate, comprehensive vehicle diagnostics. Proper setup not only enhances the efficiency of your maintenance routines but also contributes to the longevity and reliability of your fleet.