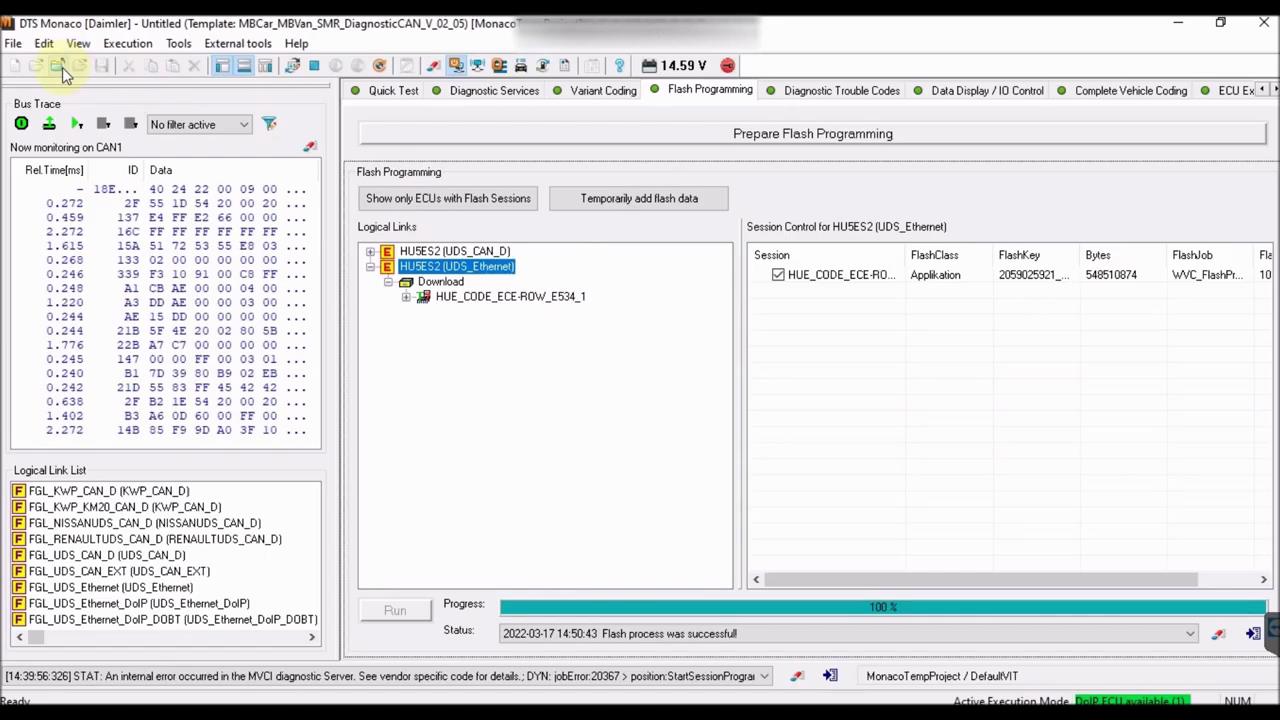
This is an Article showing just how simple it is to flash in DTS Monaco, over DoIP (Diagnostic over Internet Protocol).
These newer units can ONLY be flashed over DoIP. Trying to flash them via CAN, will very likely brick your control unit, so that should not be attempted, under any circumstances!
A DoIP hardware is required to flash these newer units.
Such a hardware can be an SDConnect C4 DoIP, ECOM or VCX SE.
DoIP brings signifficant advantage versus CAN, by that it is much faster (eg. flashing times take a few minutes, instead of several hours, telematics disks are not needed anymore, etc etc).
Once you own the equipment, it will need to be correctly set up.
There are online guides available, that show how to set up these devices.
Following is the DTS Monaco guide on how to flash using a DoIP hardware!
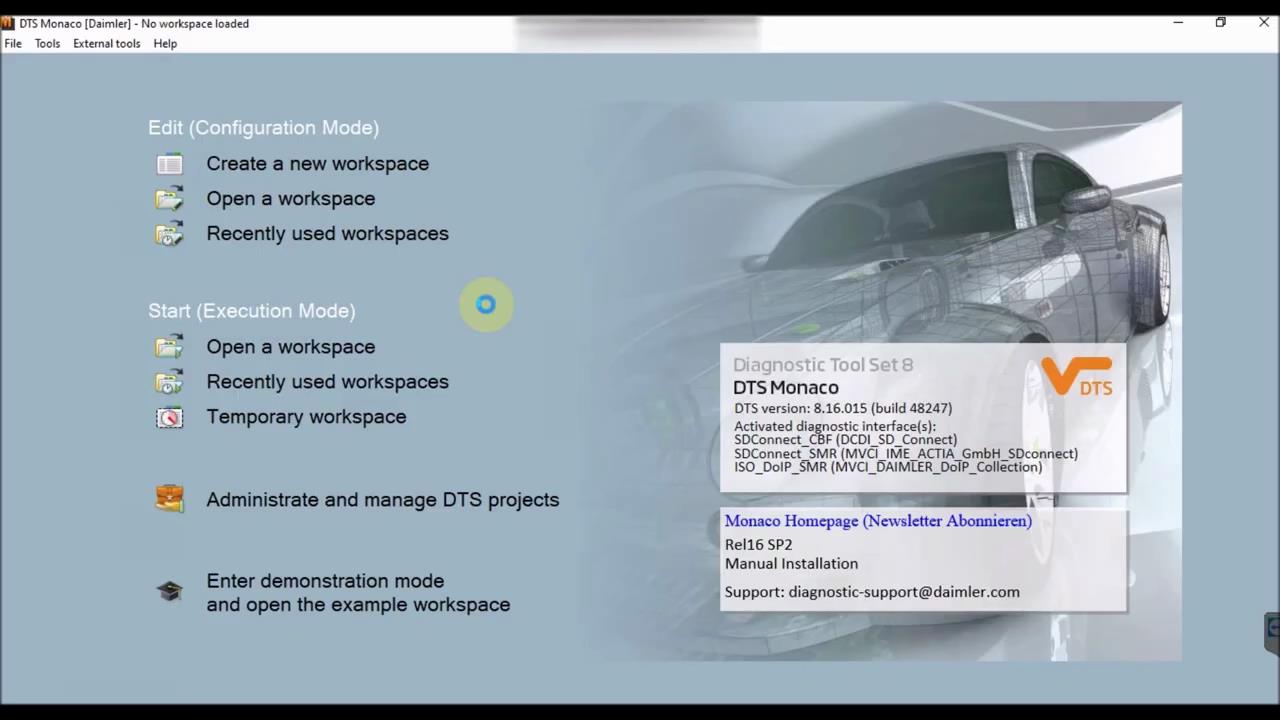
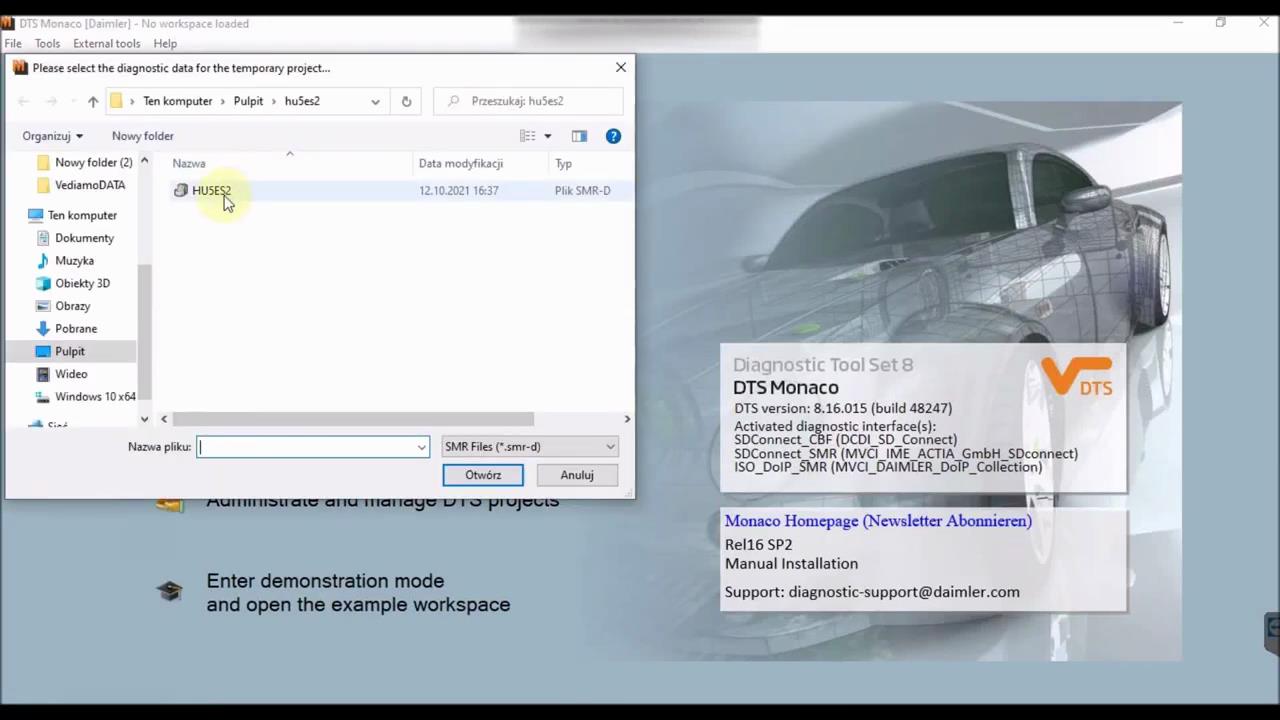
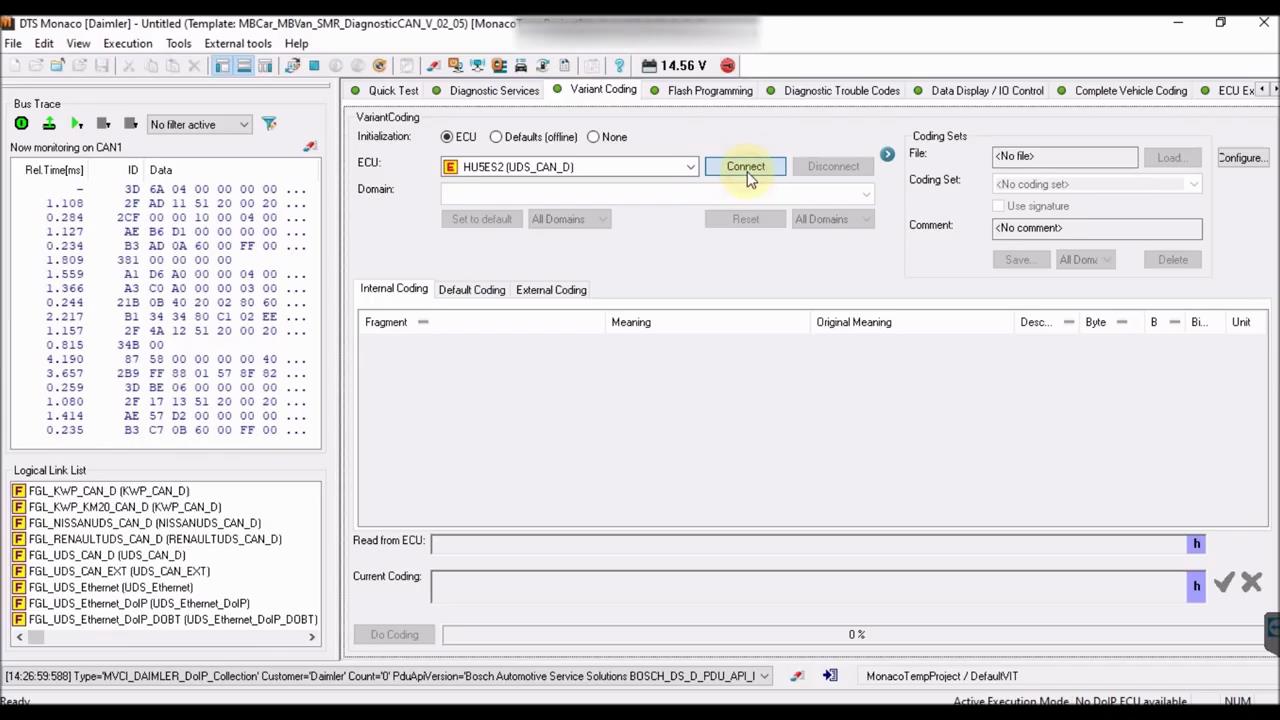
First, we’ll need to select the relevant SMR-D file, of the control unit, which we’ll be interacting with.
Once interfacing with the control unit, before flashing, it is always a good idea to have a backup of all the variant coding, which can be lost, during the procedure.
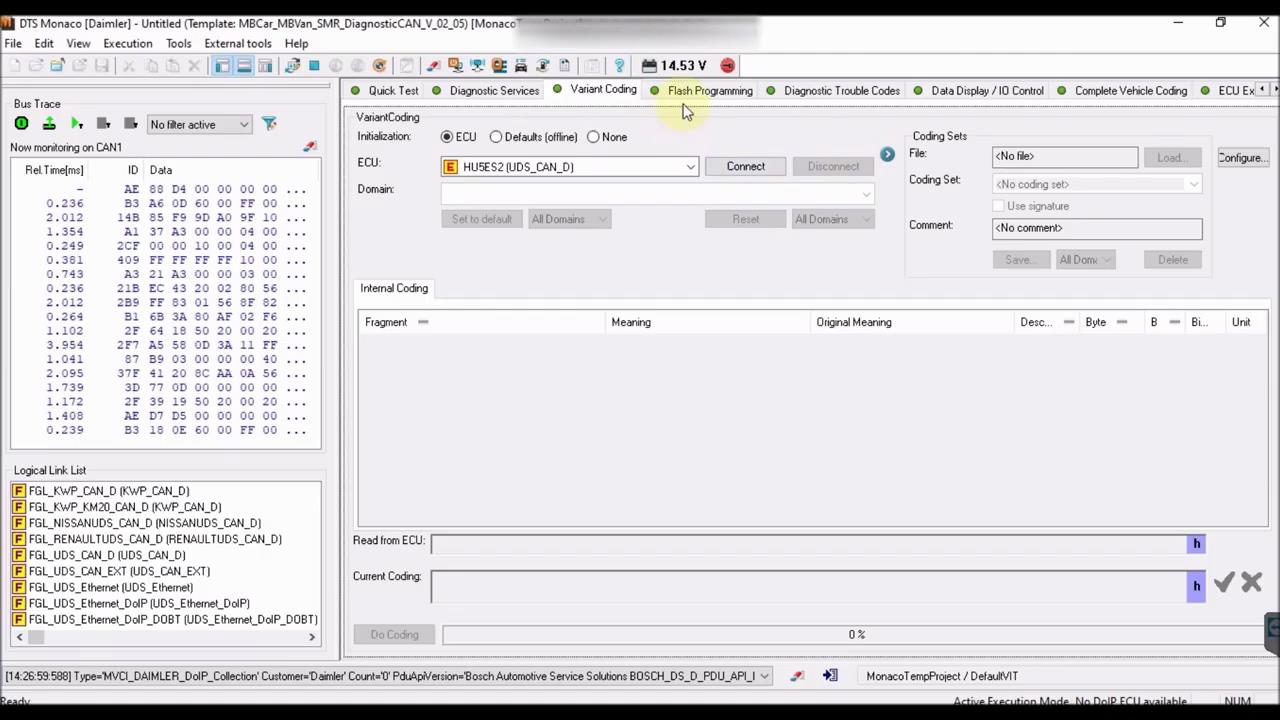
Once that is out of the way, begin the search for DoIP control units. If everything is properly set up, then you will see both the UDS_CAN and UDS_Ethernet options available.
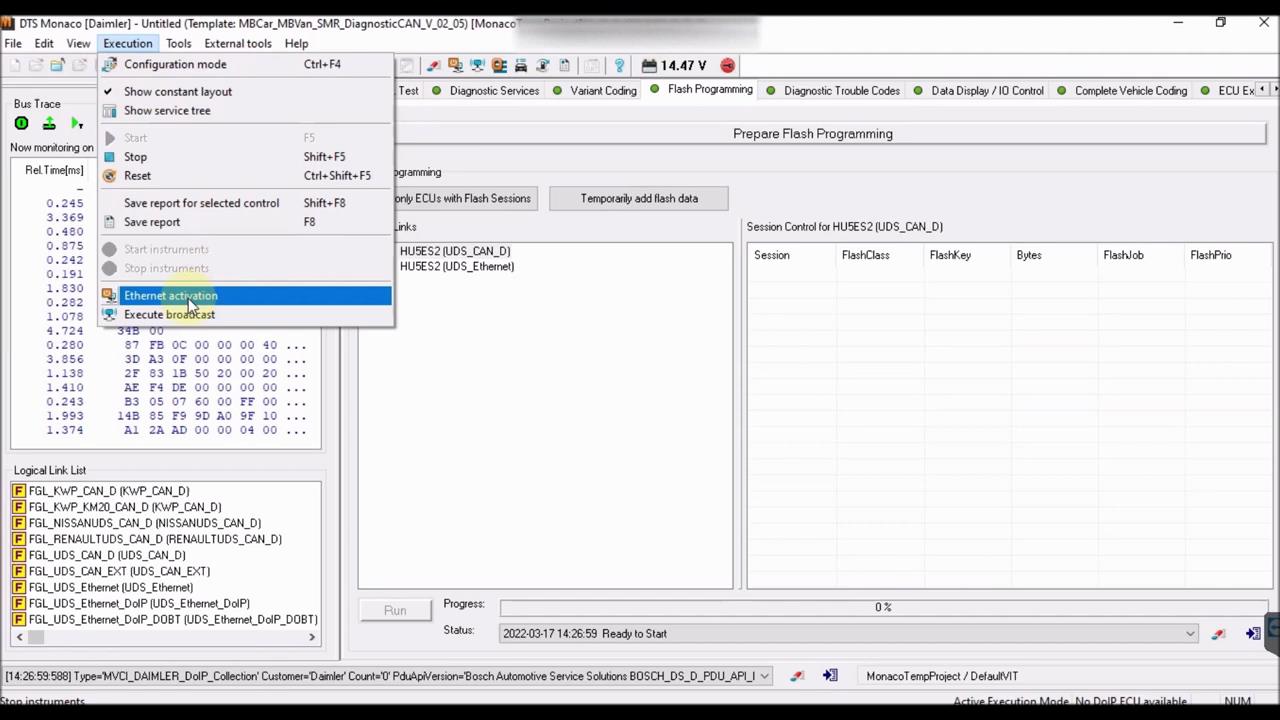
Begin by activating the Ethernet communication, from the Execution menu.
If Ethernet activation was successful, you should see the “DOIP ECU Available” message, in green, in the bottom right side of the screen.
If that is not the case, attempt to send a network bradcast “Execute broadcast”, to try and wake up the control units.
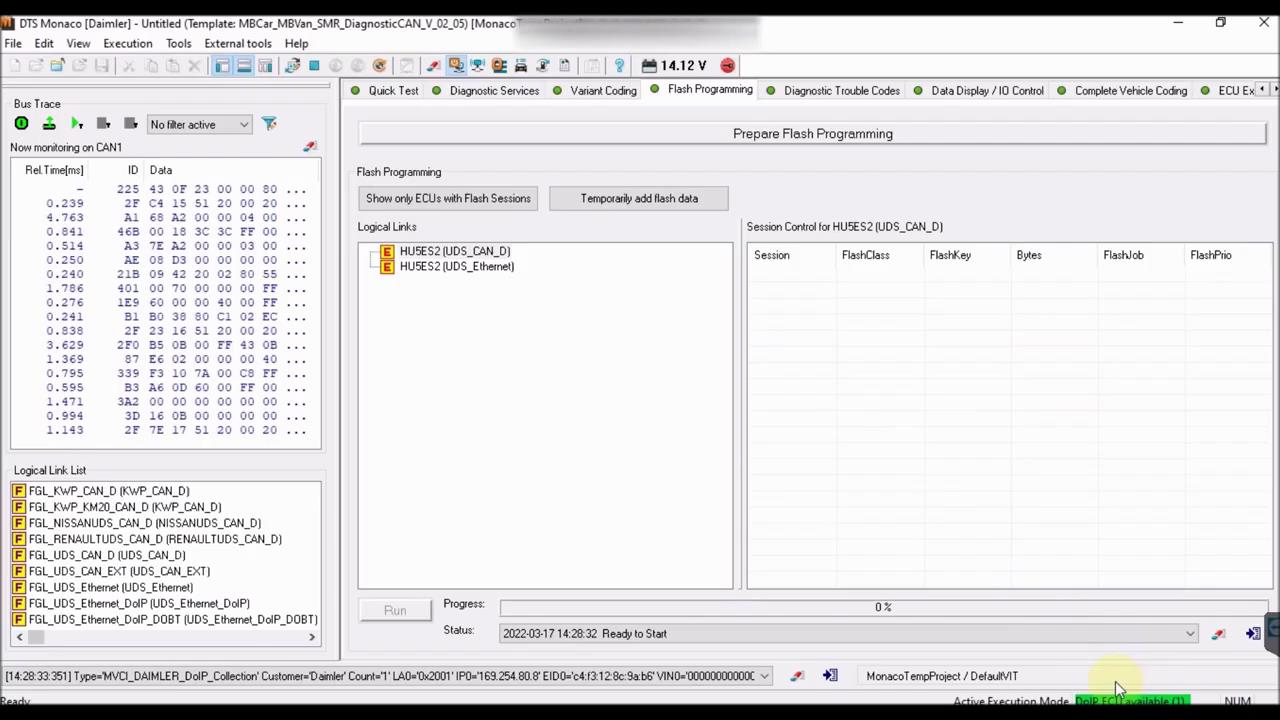
Once that is out of the way, you can begin to establish the DoIP (UDS_Ethernet) connection.
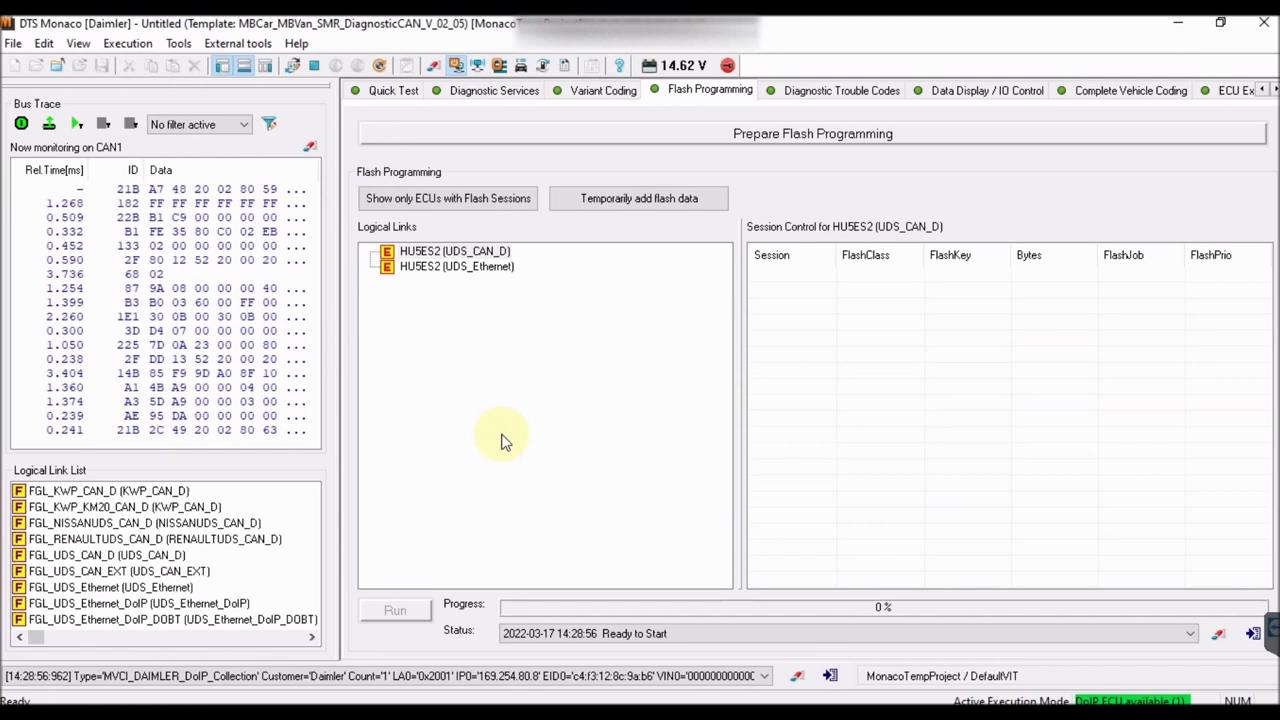
Continue by adding one or more flash files.
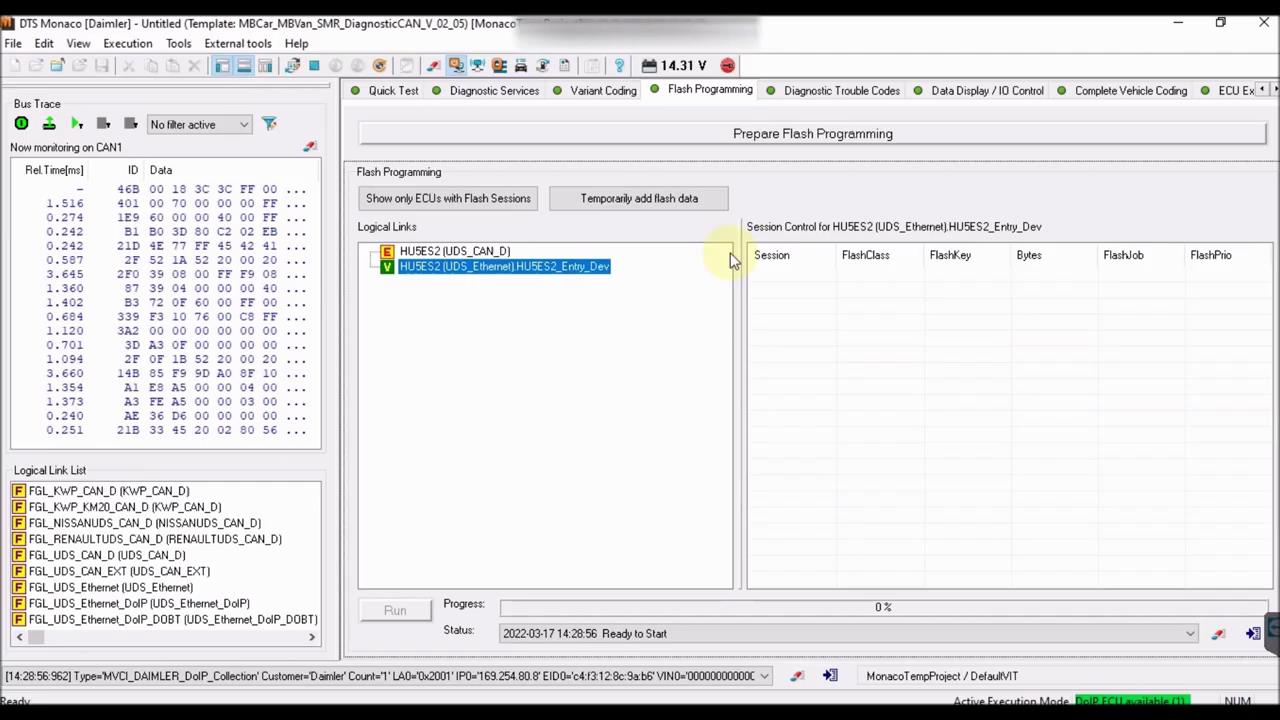
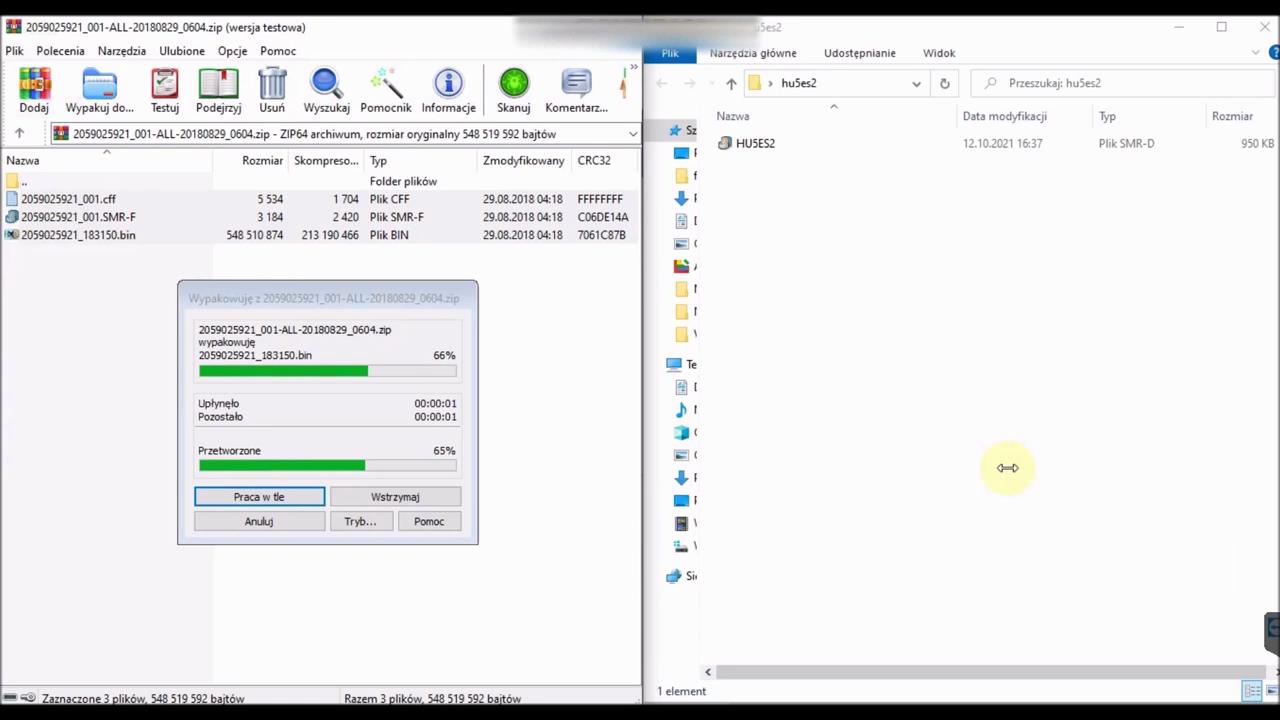
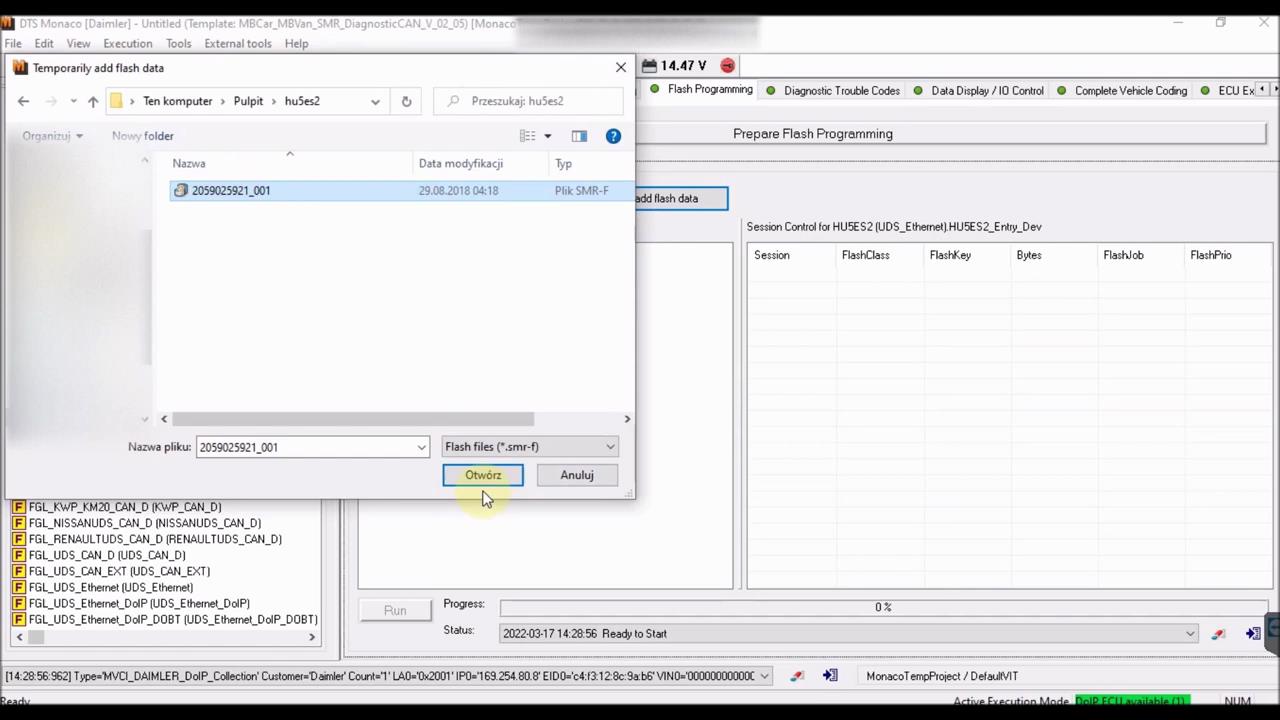
Unpack the downloaded flash files, then open them in DTS Monaco, to add them to the console.
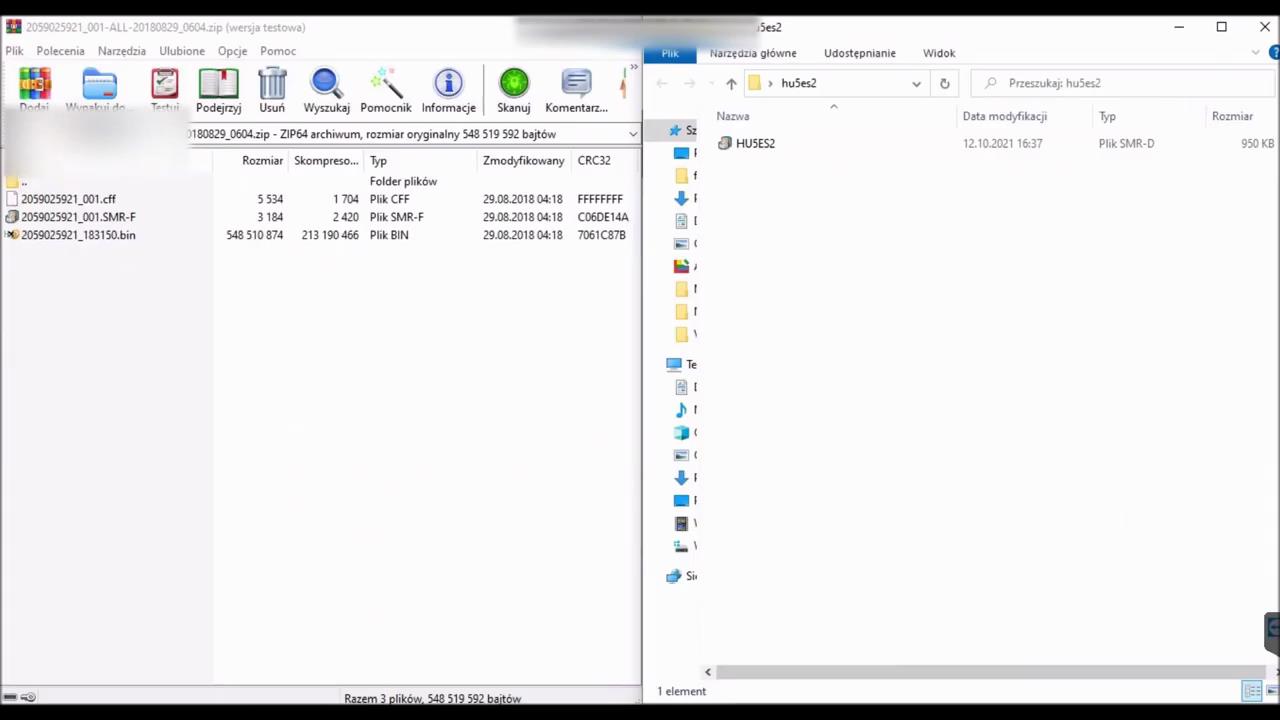
Notice how the archive contains multiple files. Simply leave them all in the same folder. Then in DTS Monaco, you will have the option to select the SMR-F file.
Once the flash file(s) have been opened, you have the option to select one or more, for flashing purposes.
Once everything is set, press on “Prepare Flash Programming”, to put the car in this special mode.
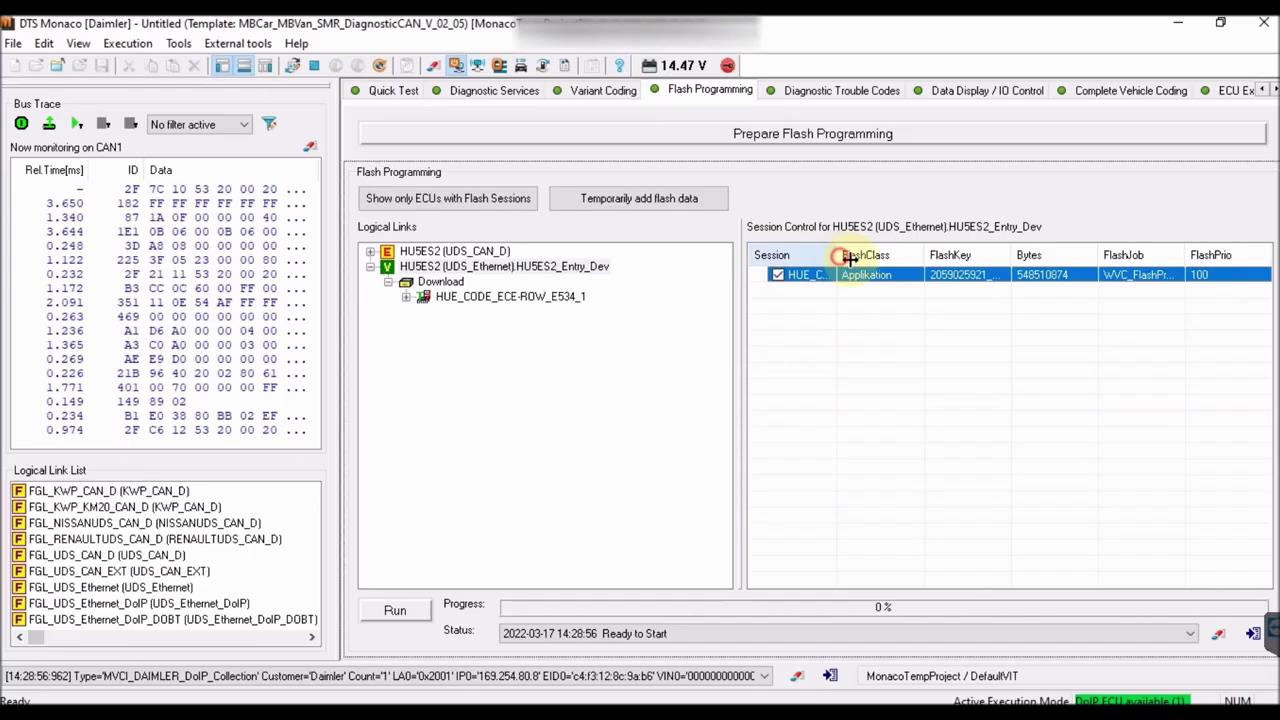
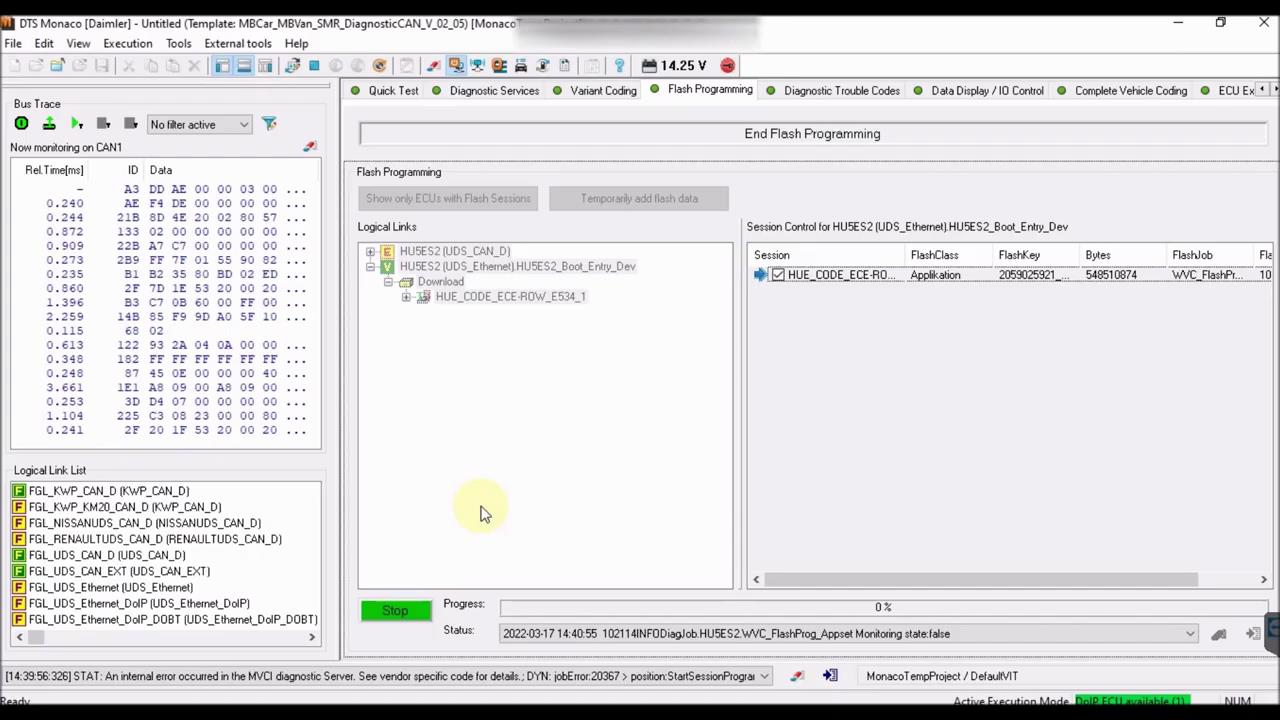
When everything is ready, car, and laptop are connected to external power source, press the RUN button.
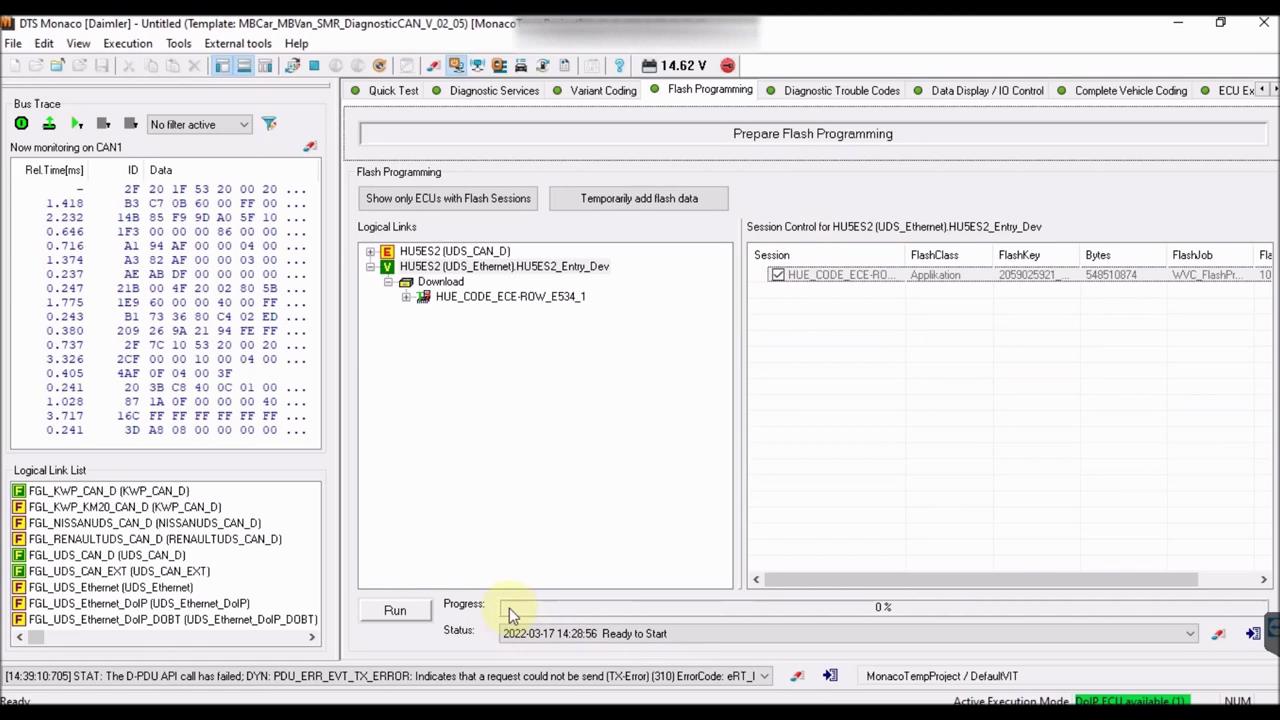
Should the process ever fail, during the flashing process, you should NOT perform a Hard Reset. Instead, simply retry, for as many times as needed. It should normally work from the first or second try.
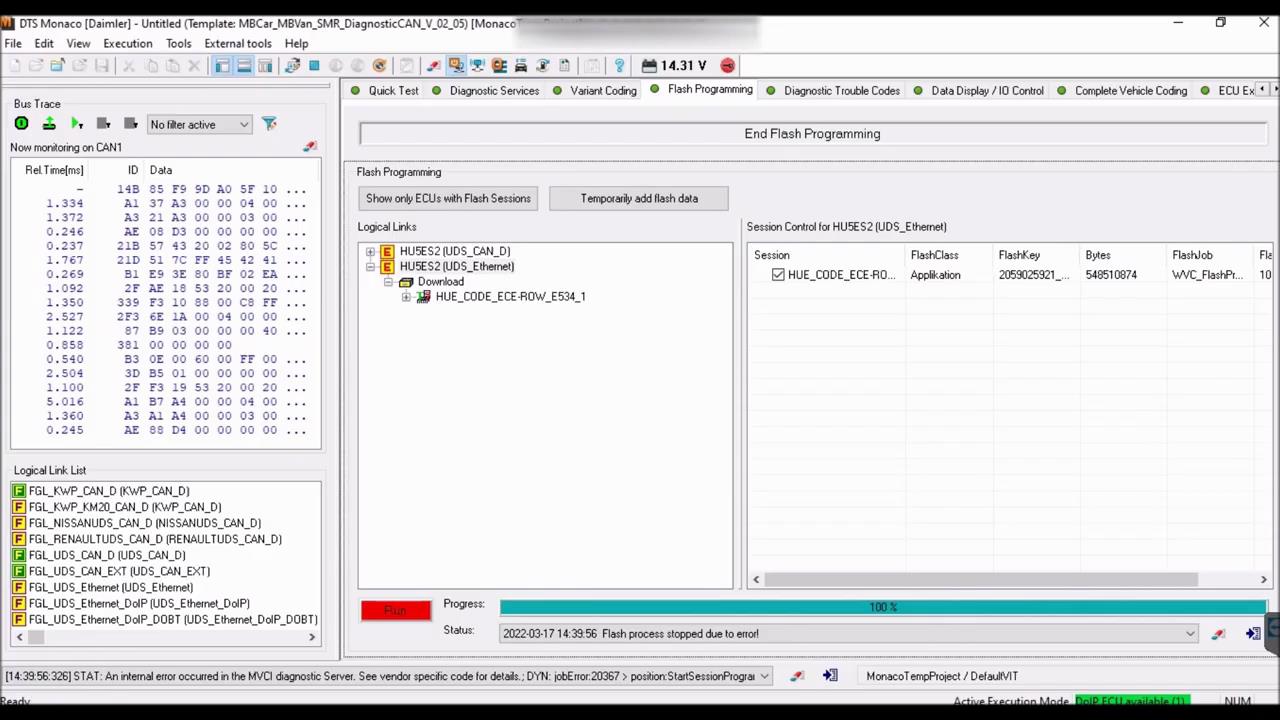
The whole procedure can take between 10 minutes and a few hours, depending on the size of the file you will be flashing. The advantage of DoIP flashing, versus CAN, is that the required time is signifficantly reduced.
If after flashing, the headunit is Antitheft locked, simply wait a bit, then perform a hard reset. This will fix it.
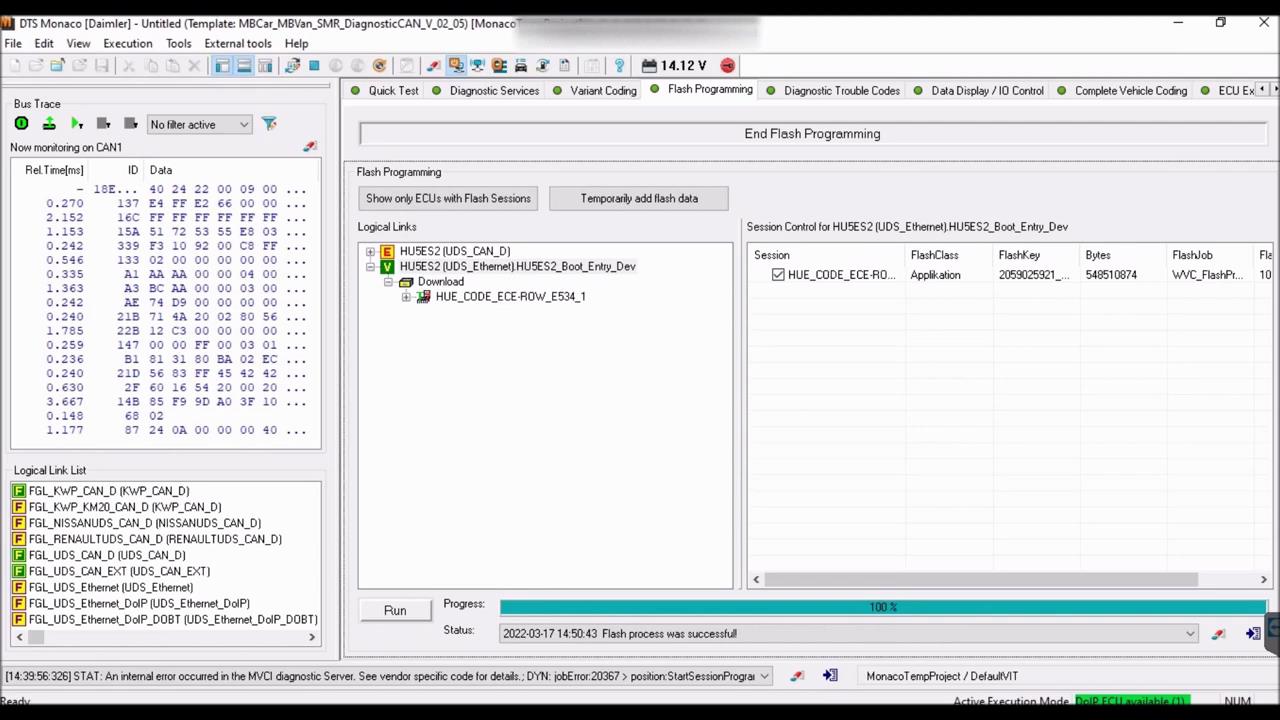
Congratulations, you now know how to flash over DoIP! To find more useful guides, visit our channel, as well as our platform at www.mbtools.me
