This thread describes how I install and configure BMW Standard Tools, the suite of BMW software that includes INPA, NCS Expert, WinKFP, Tool32. I have my own custom way of doing this that is the shortest and simplest steps I could figure out. This set up is for E46 only.
What is needed?
– Windows 7, 8, 10, 11 laptop (32-bit or 64-bit), must have AC adapter plugged in
– K+DCAN cable with a switch, for example: Amazon.com: K+DCAN Cable with Switch
– Installer files from my Google Drive
What are the steps?
– Download the files
– Run the installer
– Replace the installed folders with ec-apps.zip
– Install the driver for the cable
– Test at the car
The following posts cover each step for Windows 10. Other Windows versions may be slightly different.
1. Download the files
– Use this link to access the BMW Standard Tools shared folder
– BMW Standard Tools – Google Drive
– Download all files in the shared folder
2. Run the Installer
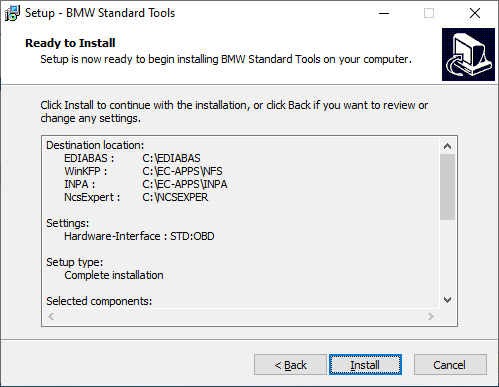
These steps cover running the installer. You accept the defaults on each installer window except one where you uncheck the top two checkboxes. The following steps are for Windows 10.
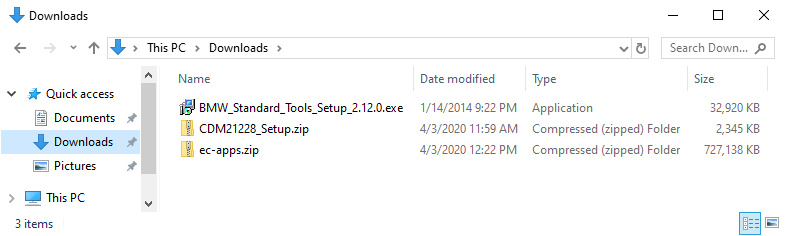
– Open File Explorer and navigate to your Downloads folder.
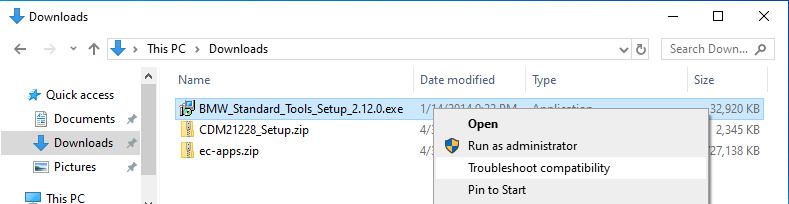
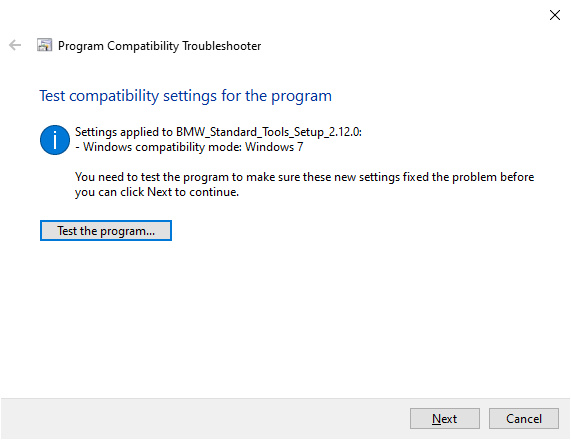
– Right click on the BMW_Standard_Tools_Setup_2.12.0.exe file, and select Troubleshoot compatibility from the menu.
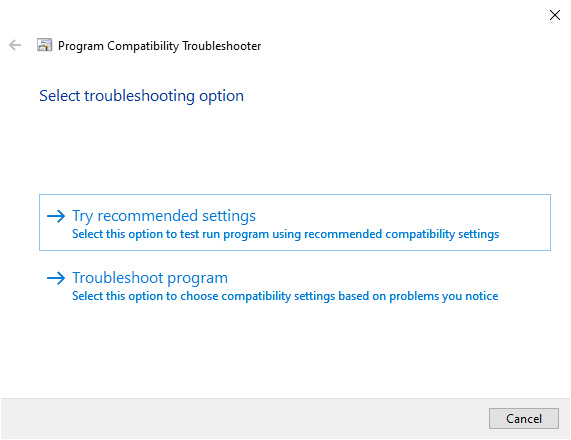
– Under Select troubleshooting option, click Try recommended settings
– Under Test compatibility settings for the program, click Test the program
– At the User Account Control pop-up window, click Yes
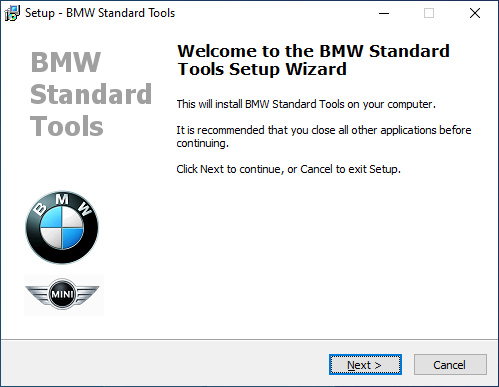
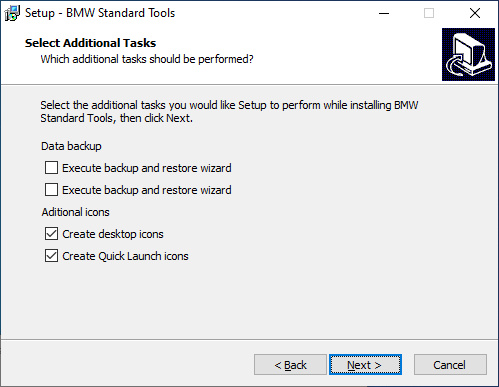
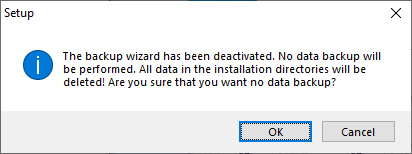
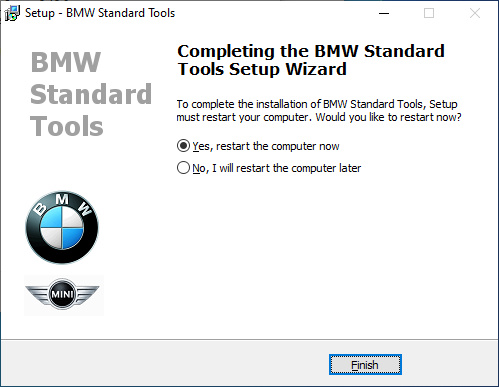
– After the installer launches, accept the defaults and click Next on each page except for the Select Additional Tasks page where you uncheck the top two boxes for Execute backup and restore wizard
– Continue until the installer gets to the end at the Completing the BMW Standard Tools Setup Wizard window, click Finish to reboot
Launching installer using compatibility mode
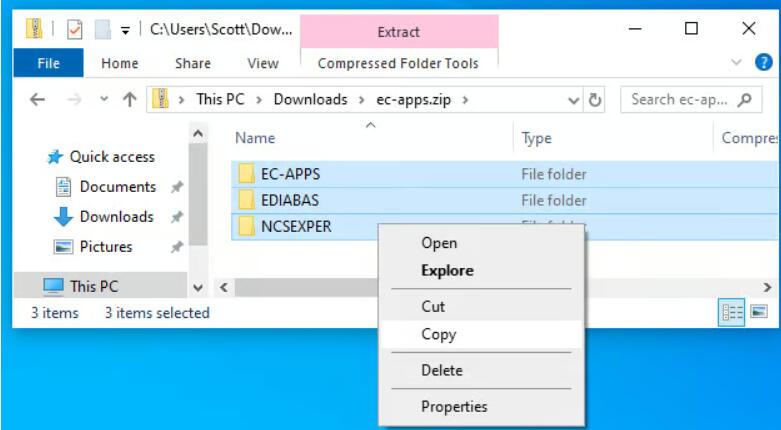
3. Replace the installed folders with ec-apps.zip
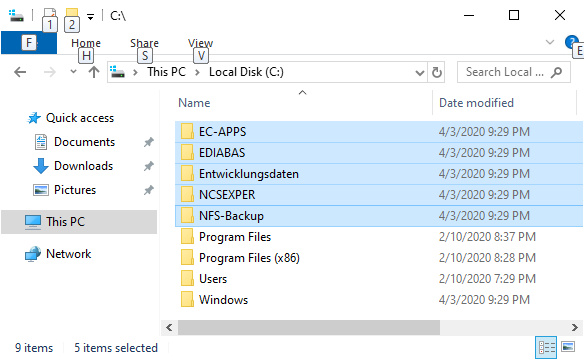
After completing the installer and rebooting, we need to replace the folders created by the installer with those inside the ec-apps.zip file.
The installer creates all the folders and program files, but not the INPA scripts and required data files. The ec-apps.zip file contains the same files and folders the installer puts down, but I’ve added the INPA scripts and imported the data files in all the right places.
– Delete the following folders and all the files inside them
– C:\EC-APPS
– C:\EDIABAS
– C:\Entwicklungsdaten
– C:\NCSEXPER
– C:\NFS-Backup
– Extract ec-apps.zip into C:\ so that the following folders are created
– C:\EC-APPS
– C:\EDIABAS
– C:\NCSEXPER

4. Install driver for cable
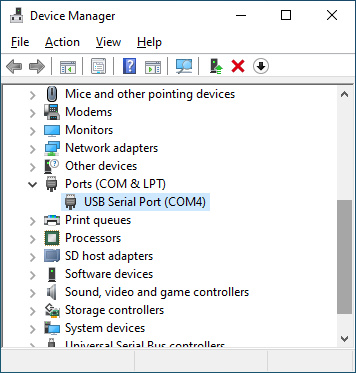
– Open Device Manager
– Plug in the K+DCAN cable
– Wait a few minutes for Windows to automatically install the driver
– If it succeeds, you’ll see a USB Serial Port (COM1) item under the Ports section
– Sometimes Windows fails to install the driver. In that case, extract the CDM21228_Setup.zip file and then run the CDM21228_Setup.exe program accepting all defaults to complete driver installation.
– Verify the COM port shown is COM1. If not, change it to COM1.
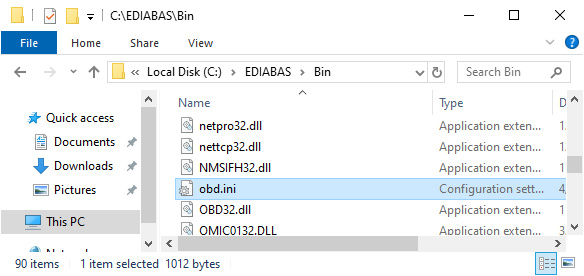
– Or, if you cannot change it to COM1, edit the C:\EDIABAS\BIN\obd.ini file and change the COM port number at the top to match what Device Manager has for the cable. Those two must always match!
Cable under Ports in Device Manager
COM port setting in obd.ini file
5. Test at the car
– Connect the K+DCAN cable to the car and laptop
– Turn ignition key to position 2 (run)
– Turn off all accessories, such as radio, lights, etc.
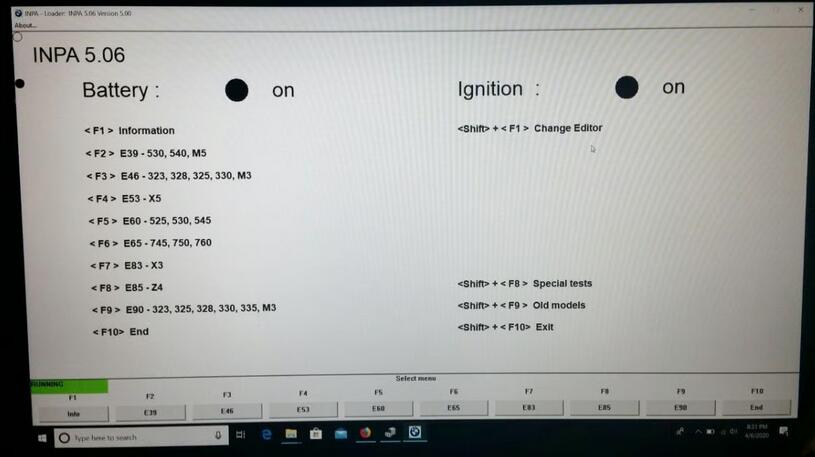
– Start INPA by double-clicking its desktop shortcut.
– Verify there are two solid black circles at the top of the main screen.
– If they are empty circles, INPA hasn’t connected to the car. Verify the COM port of the cable and in the obd.ini file are the same.
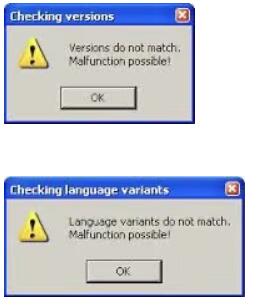
Common INPA errors
If you see these errors when running INPA, you can safely ignore them.