The procedure for installing DRBIII Emulator on Windows 7 Pro 32-bit:
1: Start with a fresh install of Windows 7 Pro 32-bit.
2: Install all the necessary drivers for your laptop.
3: Set the clock to the current date and time. (It didn’t work when set to 01/01/2017)
4: Connect to WiFi and performed all necessary Windows Updates.
5: Copy the “wiTECH_Install” folder to the desktop.
6: Install the provided version Adobe AIR.
7: Install the provided version of Java.
8: Install wiTECH.
9: After you have finished installed everything, when you get popup messages from Windows Firewall to allow or block any applications, click “Allow”.
10: When you get a popup for AdobeAIR and Java to update, click cancel and do NOT update either AdobeAIR or Java.
11: Open “My Computer” and in the upper left of the window, click on “Organize” and then select “Folder and search options”.
12: Click on the “View” tab and under “Hidden files and folders” select the radio button for “Show hidden files, folders and drives”. Also, uncheck the option for “Hide protected operating system files (Recommended)” and then at the top of the window, click the “Apply to Folders” button.
13: Navigate to “C:\ProgramData\wiTECH\jserver\data\core\stubs” and you will find three installers.
14: Install the DRBIII Emulator stub.
15: Wait for a popup to appear that states the security certificate isn’t valid and click “OK” to allow the software update to proceed. Another popup will appear and the software update will run. After it completes, close the wiTECH window if it opens.
16: Install the Enhanced DRBIII emulator stub.
17: Again, wait for a popup to appear that states the security certificate isn’t valid and click “OK” to allow the software update to proceed. Another popup will appear and the software update will run. After it completes, close the wiTECH window if it opens.
18: Install the K-Line stub.
19: Again, wait for a popup to appear that states the security certificate isn’t valid and click “OK” to allow the software update to proceed. Another popup will appear and the software update will run. After it completes, close the wiTECH window if it opens.
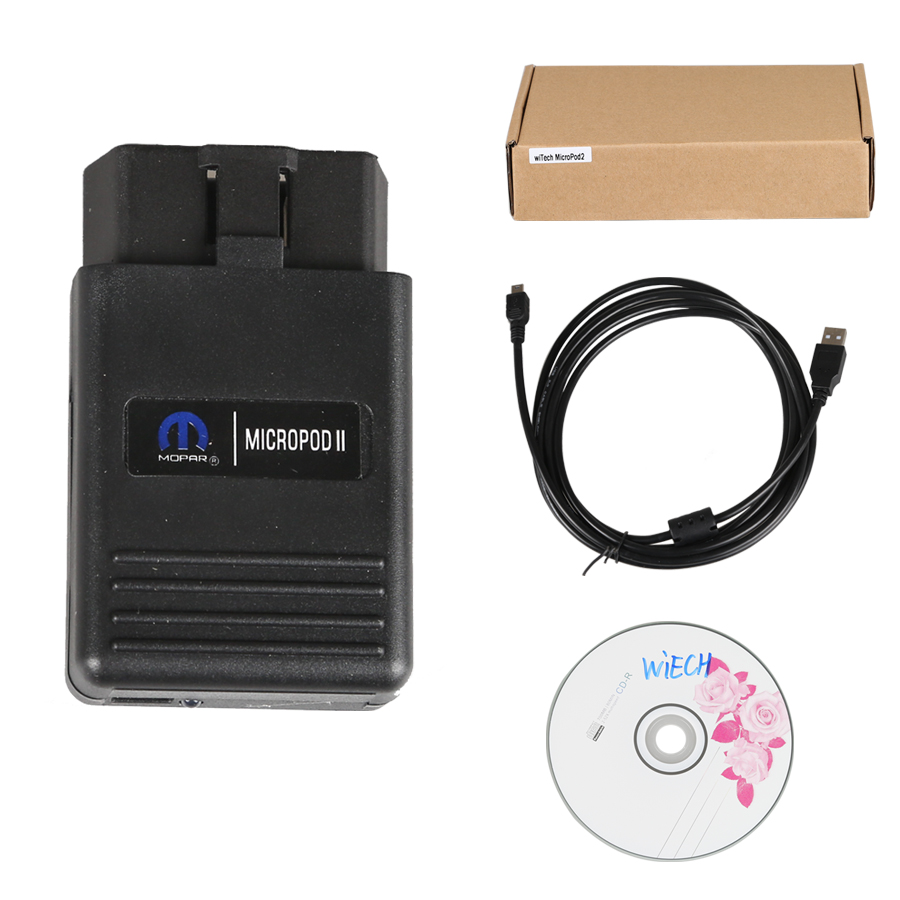
20: Connect the MicroPod2 to the vehicle, then connect it to the computer.
21: A popup window will appear to install software. Click “OK”.
22: After it finishes, start wiTECH and wait for the screen to show up with the MicroPod2 and IP address of it. You will see a “Launch DRBIII” button in the lower right corner. Ignore it as they do not properly open the emulator.
23: Create a shortcut on the desktop and enter the following into the ‘Path” field.
24: Disable the LAN and WLAN network connections and never connect to the internet again.
25: Click on the shortcut and you’re set! The DRBIII emulator will open and give you the choice to select several different vehicles.
Note:Its procedure ONLY work with wiTech MicroPod 2 from obd2tool.com.
If you want us to install in the laptop ready for use,you can check the product link:
https://www.obd2tool.com/goods-5282-Chrysler+wiTech+MicroPod+2+With+IBM+X200T+Laptop.html