Introduction:
The VCM II (Vehicle Communication Module) is a cutting-edge diagnostic tool designed specifically for Ford vehicles. When combined with the SDT II (Service Diagnostic Tool) software, it enables efficient and accurate vehicle diagnosis, programming, and reprogramming. In this article, we will guide you through the process of installing and configuring the VCM II FORD with SDT II software.
Step 1: Gathering the Necessary Equipment
Before we begin, ensure that you have the following items ready:
– VCM II FORD device (genuine and compatible)
– SDT II software installation CD or downloaded setup file
– Laptop or computer with a stable internet connection
– USB cable for connecting the VCM II device to the computer
Step 2: Installing SDT II Software
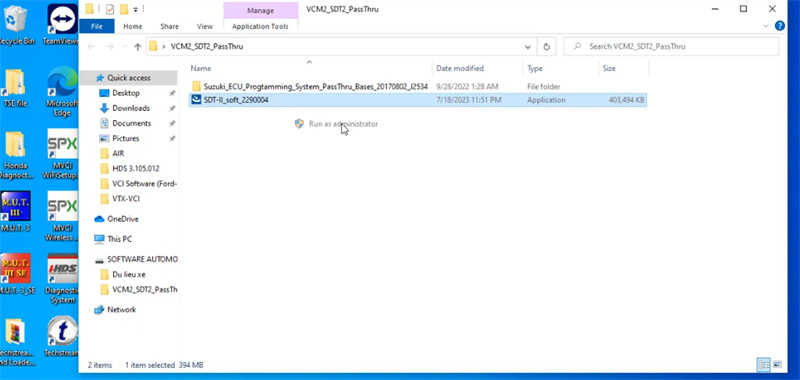
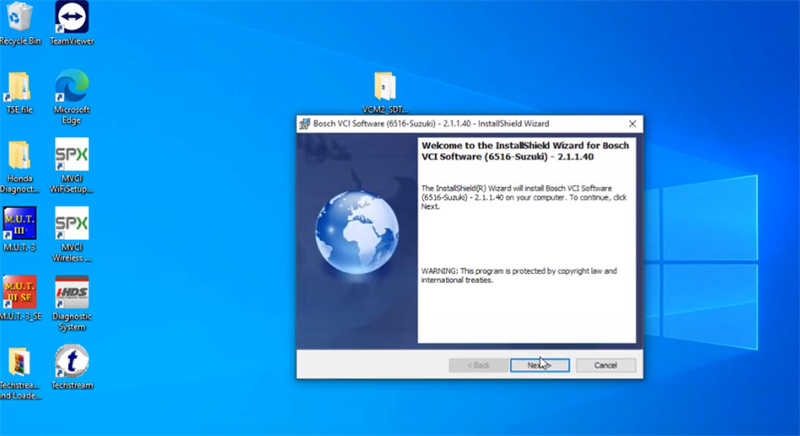
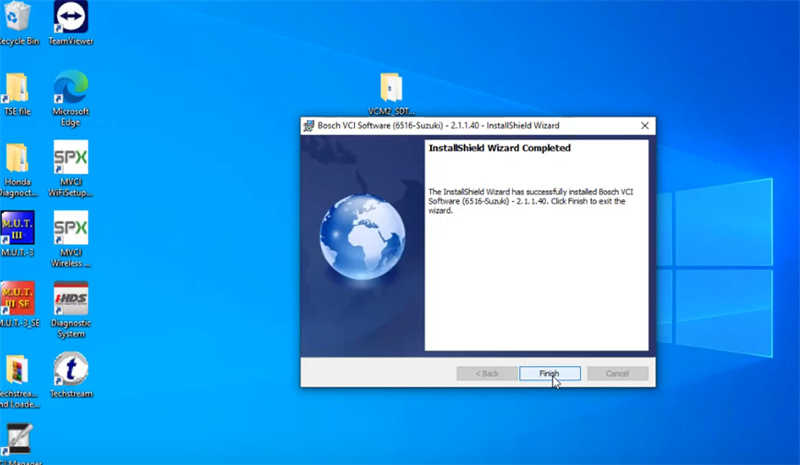
1. Insert the SDT II software installation CD into your computer’s CD/DVD drive. If you have a downloaded setup file, locate it on your computer and double-click to initiate the installation process.
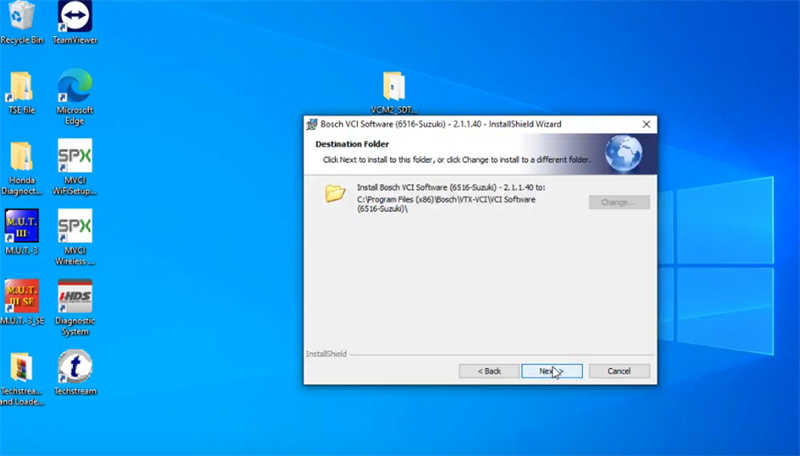
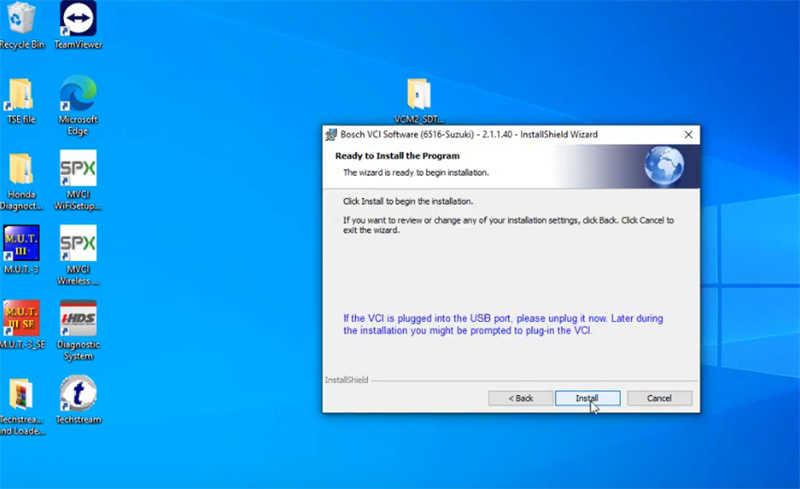
2. Follow the on-screen instructions provided by the installer to complete the installation. Ensure that you choose the appropriate installation location and create any necessary shortcuts.
3. Once the installation is complete, restart your computer to finalize any changes made during installation.


Step 3: Connecting VCM II FORD to the Computer
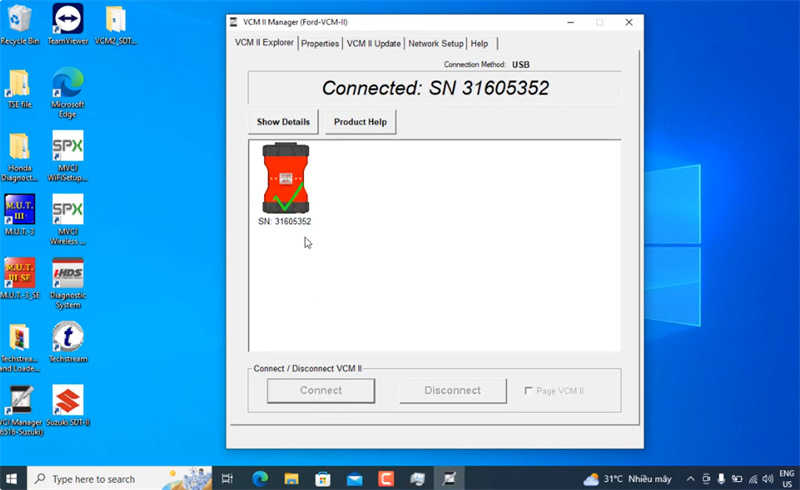
1. Connect one end of the USB cable to the VCM II device and the other end to an available USB port on your computer.
2. Wait for a few moments as your computer detects the new hardware and installs the necessary drivers. If prompted, allow the installation to proceed.

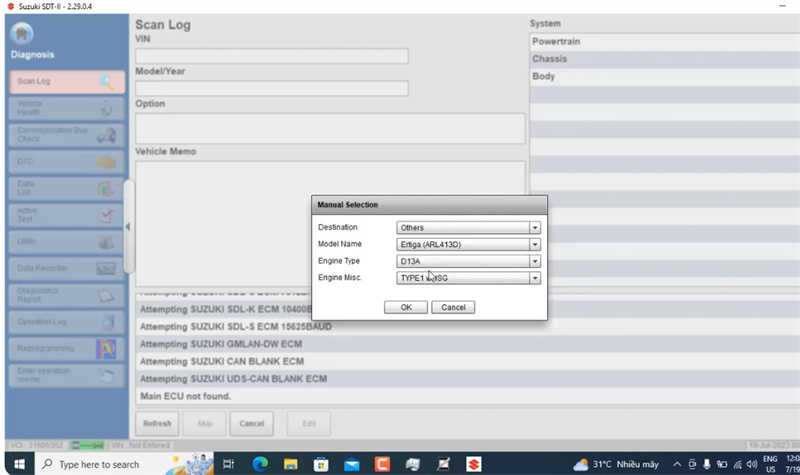
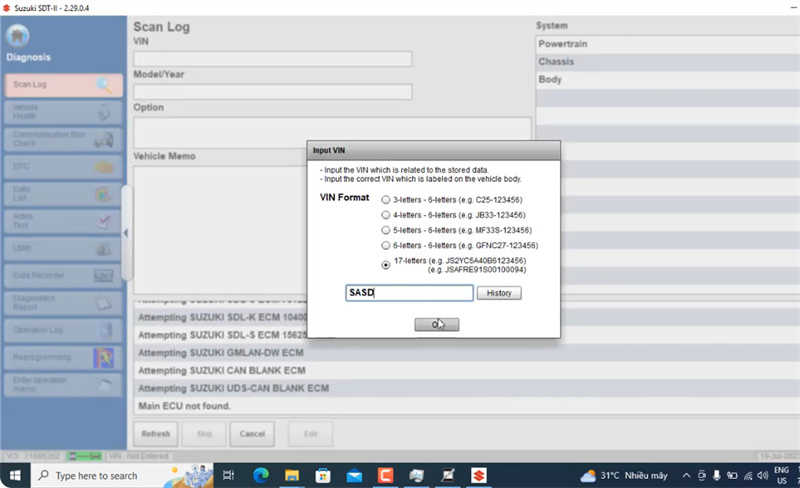
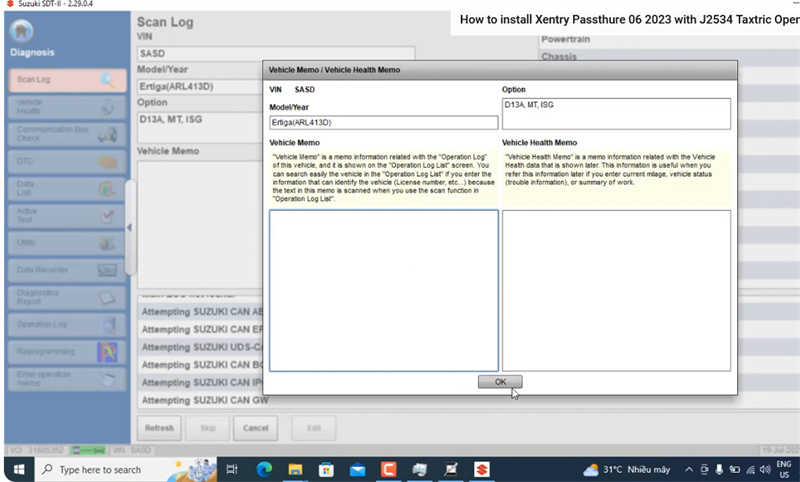
Step 4: Configuring VCM II FORD with SDT II Software
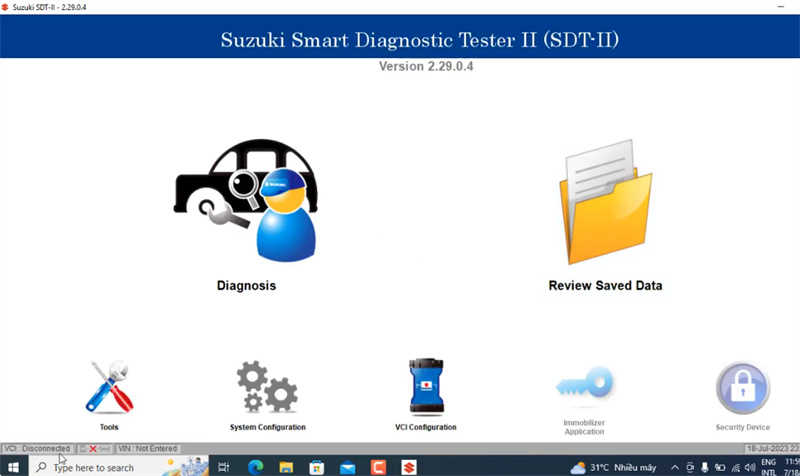
1. Launch the SDT II software on your computer. You should find the shortcut on your desktop or in the Start menu.
2. On the SDT II interface, click on the “Configuration” tab or a similar option.
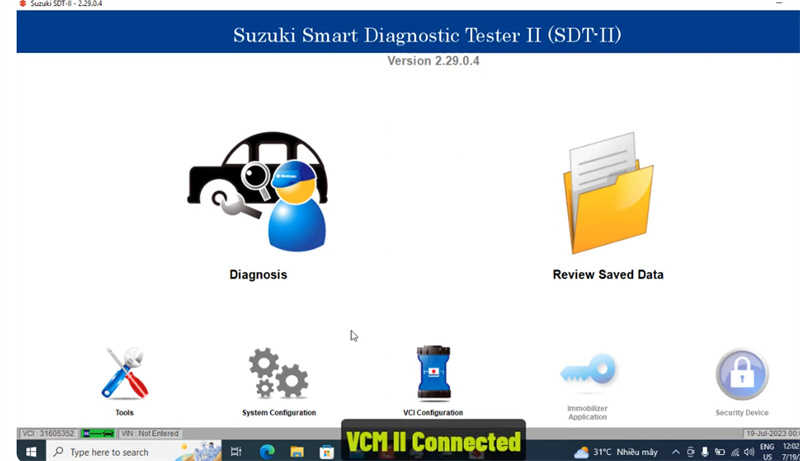
3. Within the configuration settings, select the appropriate communication device. It should be listed as “VCM II” or a similar name.
4. Configure the desired settings such as language, diagnostic tool options, and connection type (wired or wireless). Refer to the software’s user manual for detailed information about each setting.
5. Save the configuration settings and exit the configuration menu.
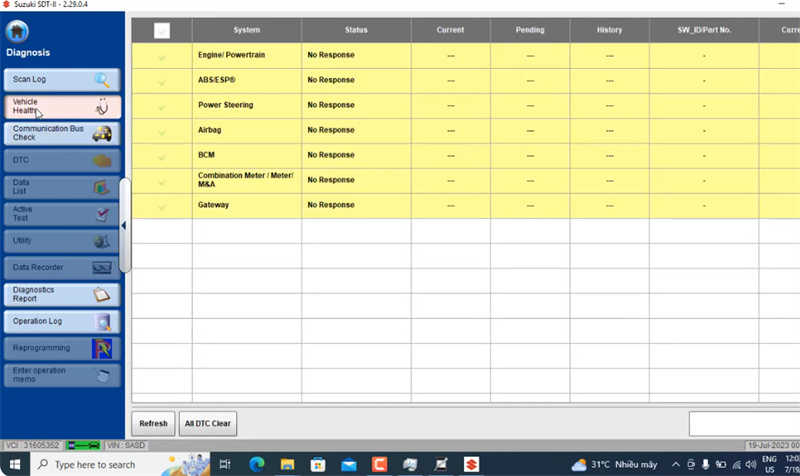
Step 5: Testing the VCM II FORD Connection
1. Ensure that your Ford vehicle is in a stable parked position and that the ignition is turned off.
2. Connect the VCM II device to the vehicle’s OBD-II port. It is usually located under the dashboard or near the steering column.
3. Turn on the ignition key without starting the engine.
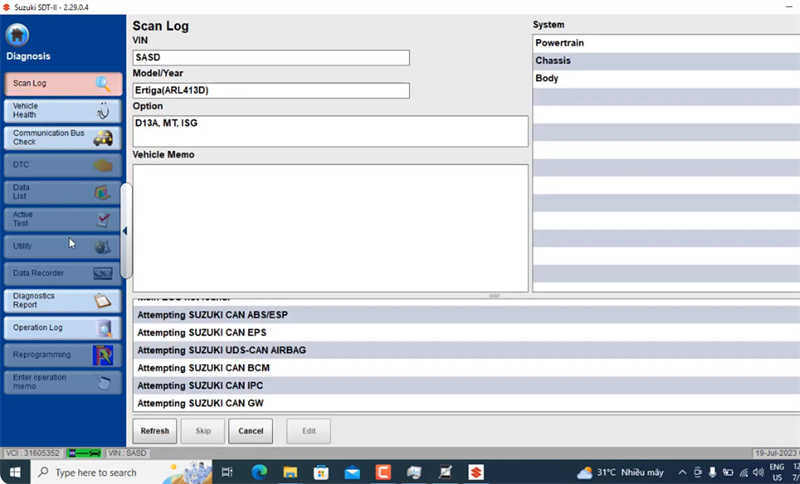
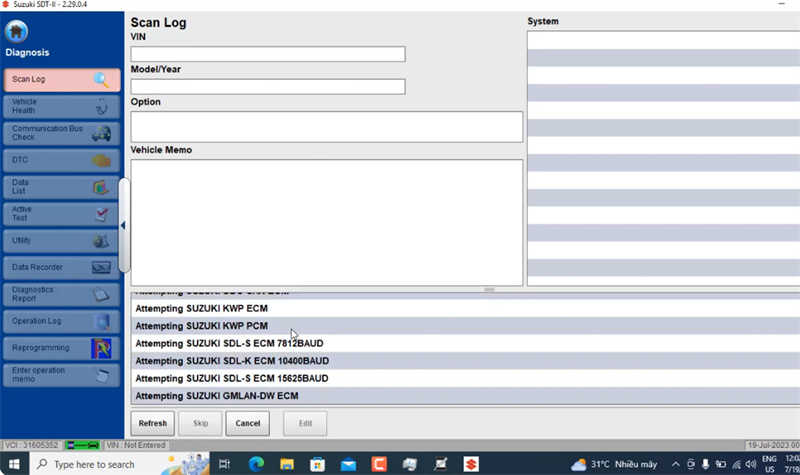
4. Launch the SDT II software on your computer and establish a connection with the VCM II device by selecting the appropriate options within the software’s interface.
5. Follow the on-screen instructions provided by the software to perform a diagnostic test or any other desired operations on your Ford vehicle.
Conclusion:
By following the above steps, you can successfully install and configure the VCM II FORD with SDT II software. This powerful combination of hardware and software enables efficient diagnosis and maintenance of Ford vehicles. Remember to consult the user manuals for the VCM II device and the SDT II software for any specific instructions or troubleshooting steps. Enjoy your enhanced diagnostic capabilities!