Additional instructions for Uninstalling/Removing IDS are also included.
Installing & Updating IDS
Note: Before installing Ford IDS, ensure anyfirewall, anti-virus and pop-up blocker software is disabled.
1. Log on to the PTS (Professional Technician Society) website, click on Rotunda.
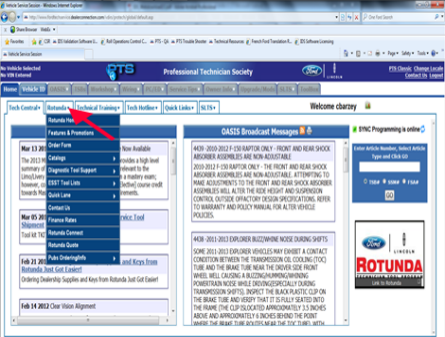
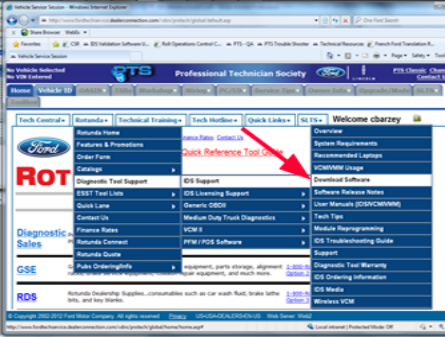
2. Click Download Software.
Free Download Ford Mazda IDS V129 Software
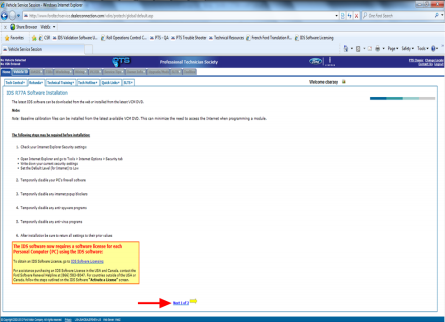
3. There are six steps that need to be followed before attempting to download IDS software. Ensure they have been completed before starting the download.
4. Click Next 1 of 2.
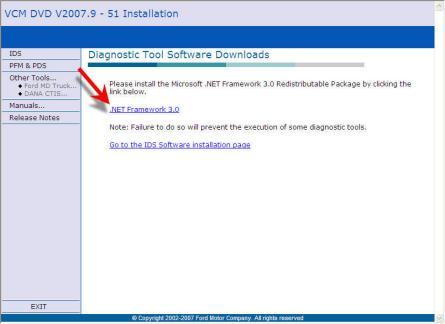
Note: If the page you see does not look like the one above, and it asks you to install Microsoft .NET Framework 3.0, please go to the Step 6.
5. Click on the Current IDS Release link. Once the download starts follow the on-screen instructions to complete the download.
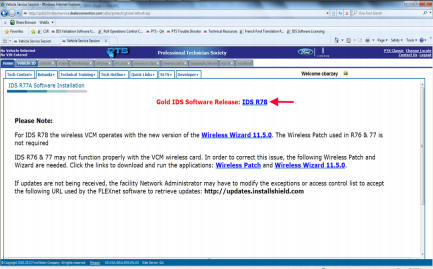
If you are able to click the linkfor the Current IDS Release,please proceed to page 7.
6. If prompted, please click the link for .NET Framework 3.0
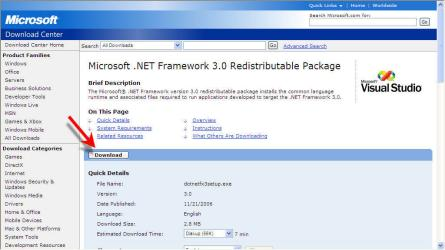
7. Click the Download button on the Microsoft page.
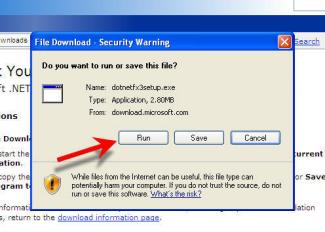
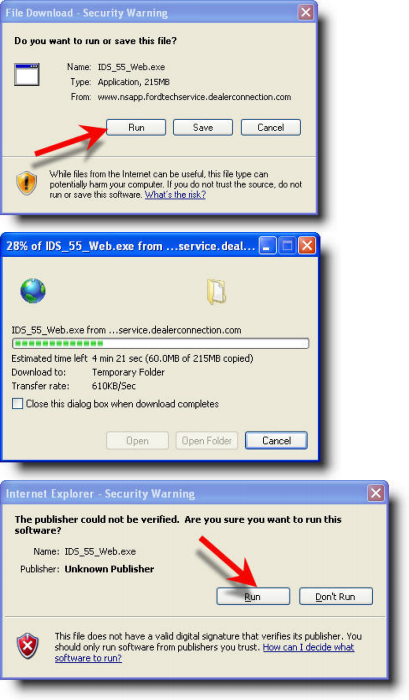
8. Click the Run button.
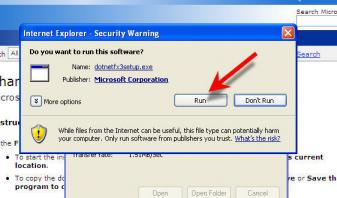
9. Click the Run button.
Wait for the progress bar to complete.

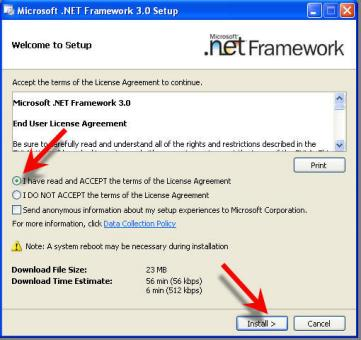
10. Accept the License Agreement, then click Install.
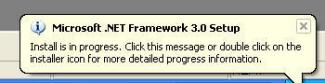
11. You may see a Windows Information pop-up stating the Install is in progress.
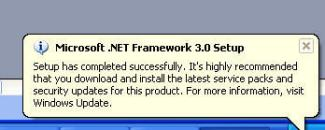
Another notice should appear when the .NET Framework 3.0 setup is complete.
Restart your computer. Begin the IDS installation instructions again.
12. When prompted, select Run.
Wait for download progress bar to complete.
13. Click Run.
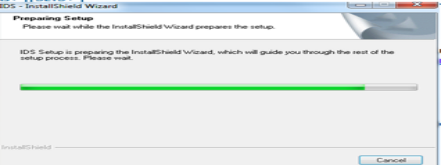
13. Wait for the IDS – InstallShield Wizard to prepare setup.
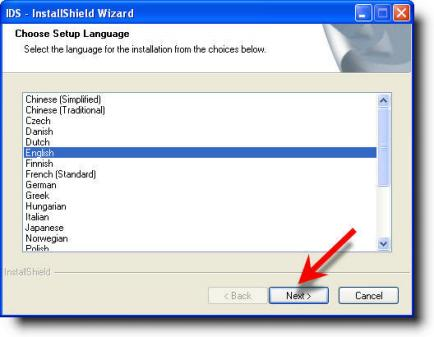
14. Ensure the correct language is selected then click Next.
Wait for the progress bar to complete.
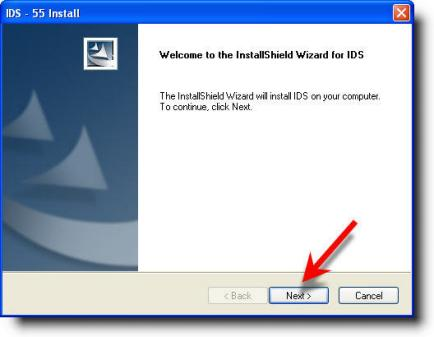
15. Click Next.
16. Select I accept the terms of the license agreement, then click

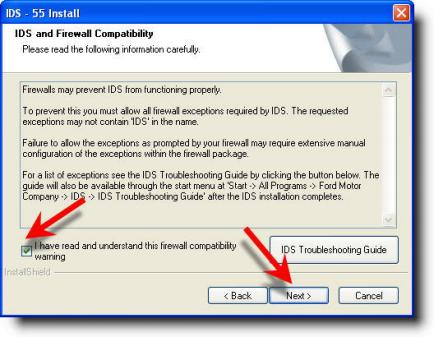
17. Read the IDS and Firewall Compatibility page, check I have read and understand the firewall compatibility warning. Then click Next.
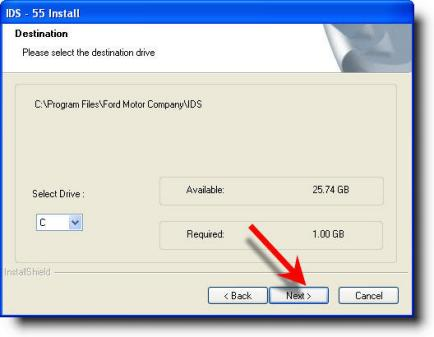
19. Do not change the drive location, then click Next.
20. Click the Install button when ready to install software.
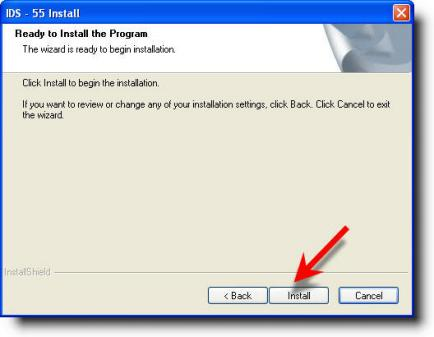
21. IDS software installation has started.

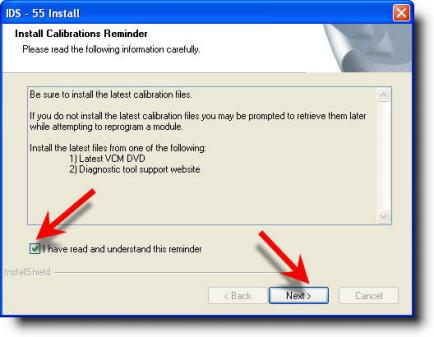
22. Read the Install Calibration Reminder, check I have read and understand this reminder, then click Next.
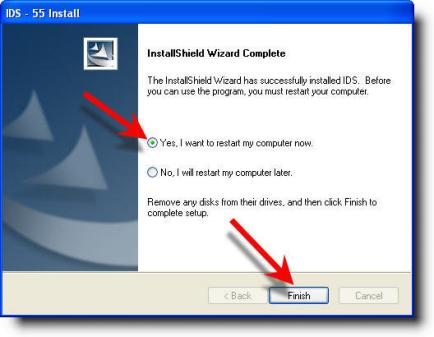
23. Select Yes, I want to restart my computer now. Then click Finish.
A new IDS Software Licensing subscription process, released in 2011, replaces the current VCM/IDS subscription process. A unique license is required for each computer where IDS is installed. Vehicle communication through the VCM is disabled without an active license.
The IDS Software – Evaluation License dialog box will appear if your computer does not have an active licensed installed.
Follow the onscreen instructions.
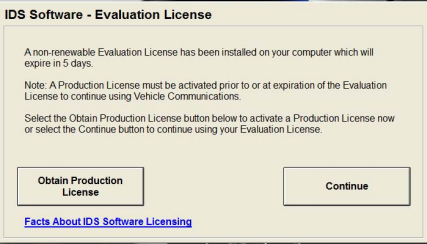
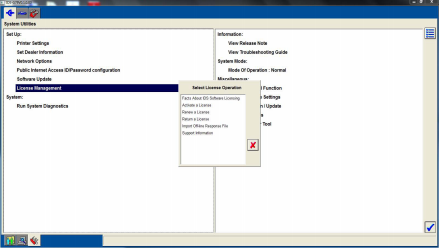
Access IDS > System Utilities > License Management
for further information on IDS Software Licensing.
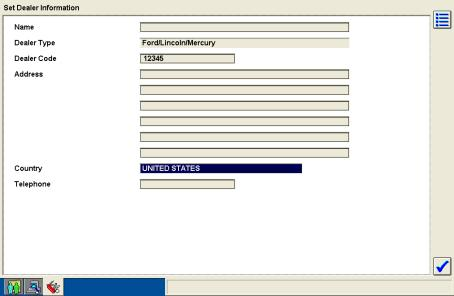
Set Dealer Information
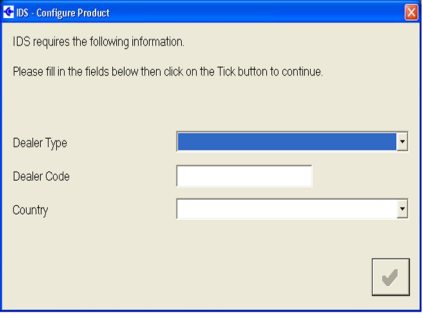
In an effort to make the connectivity process more user friendly, Ford has replaced the activation process. You will be asked at IDS startup to provide your user details in the following IDS – Configure Product dialog box. Once this informa- tion is saved the screen will no longer appear during startup. This process will make sure that the IDS user details are configured properly to receive updates (Software Update, Calibration File Retrieval) from the Ford corporate servers.
If an earlier version of IDS was loaded on your com-puter, these fields should be automatically completed. You will then be asked only to select the tick button to confirm the information. This information would have been entered into IDS through the Set Dealer Informa-tion selection from the System Utilities page.
The Dealer Type field offers the following selections:
ο Ford/Lincoln/Mercury
ο Mazda
ο Non-Dealer
If you are a combined Ford/Mazda dealership, select the brand on which you service most.
If you do not work in a Ford/Lincoln/Mercury or
Mazda dealership (Fleet, Aftermarket,…), select Non-
Dealer for this field.
Enter your dealership’s P&A code in the Dealer Code field. Those who selected Non-Dealer for the Dealer Type field will see the Dealer Code field disabled.
In the Country field, select the country in which you are located from the drop-down list.
After entering this data, select the tick button to proceed to the IDS application.
Installing & Updating IDS
Once the current IDS release is installed, set dealer information andperform a Software Update to receive the latest software calibration database and any software enhancements.
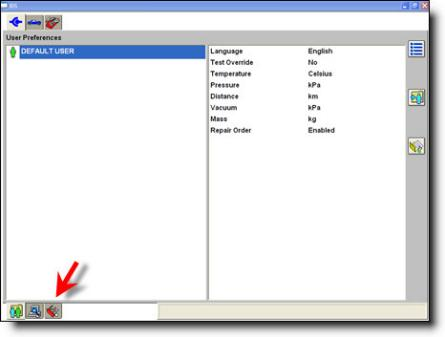
1. Start IDS, click the IDS
Systems tab as shown.
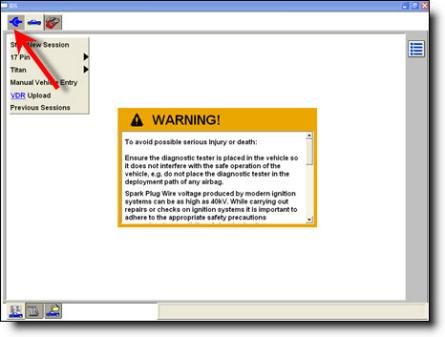
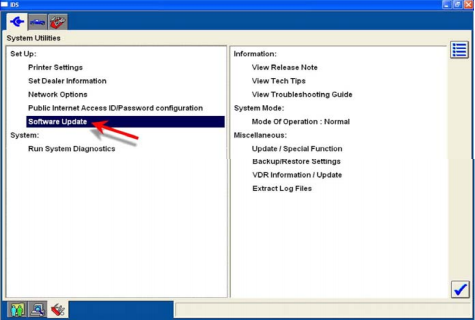
2. Click the System Utilities tab as shown.
3. Select Set Dealer Information, press the tick.
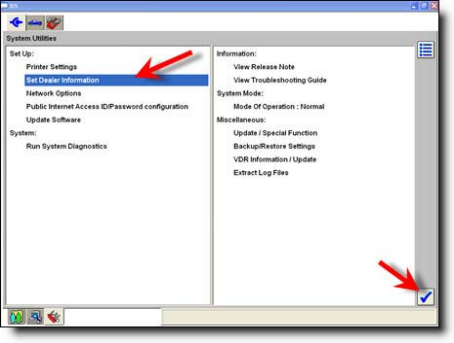
4. The minimum requirements here are the Dealer Type, Dealer Code and Country.
When complete, press the tick.
The Network Options selection on the System Utilities page has been updated to provide a clearer view of your IDS sys- tem’s connection to Ford corporate servers.
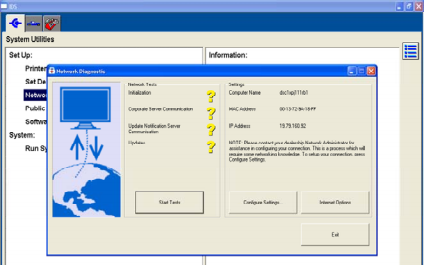
Select Start Test to automatically run a status check on the network components required to keep your IDS updated.
Initialization – initializes the Network Test Corporate Server
Communication – pings the Ford corporate server
Update Notification Server Communication – pings the FlexNet server
Updates – checks to see if an IDS software update is available
As each test completes, the ![]() will be replaced with a
will be replaced with a ![]() for a passed test or a
for a passed test or a ![]() for a failed test. When tests fail the help for the first failed test will be shown at the bottom of the dialog. Select Configure Settings… to launch the Network Connections Control Panel window. This feature provides direct ac- cess to your computer’s network connection settings. Select Internet Options to launch the Internet Properties dialog box. This feature provides direct access to your com- puter’s internet settings Select Software Update, then press the tick
for a failed test. When tests fail the help for the first failed test will be shown at the bottom of the dialog. Select Configure Settings… to launch the Network Connections Control Panel window. This feature provides direct ac- cess to your computer’s network connection settings. Select Internet Options to launch the Internet Properties dialog box. This feature provides direct access to your com- puter’s internet settings Select Software Update, then press the tick
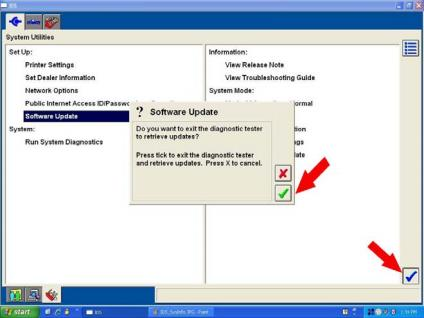
A software update popup window will be displayed. Click the green tick to continue.
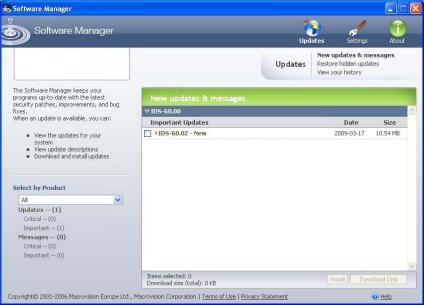
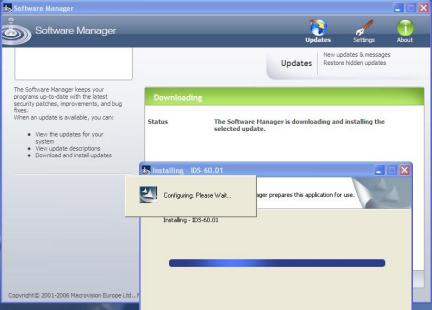
If updates are available, the Software Manager will dis-play them under “Important Updates”. Database and patch updates will be included in a single software up-date.
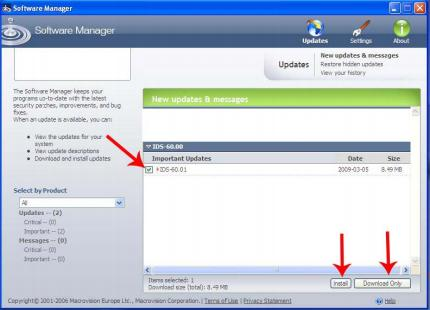
Selecting the software update will enable the “Install and “Download Only” buttons. Click on “Install” to start the installation process or “Download only” to save the update to PC.
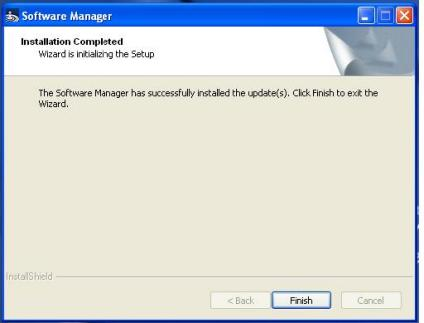
Once the software update installation is complete, the “Installation Completed” screen will appear. Click “Finish” to complete the process.
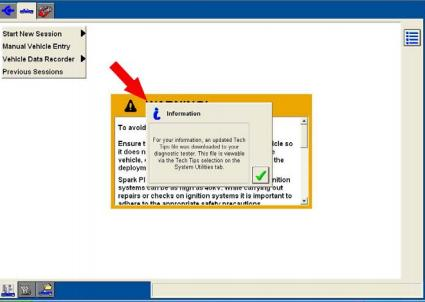
Once the software update is complete, you must restart IDS. If Tech Tip updates are available the “Information” popup will appear.
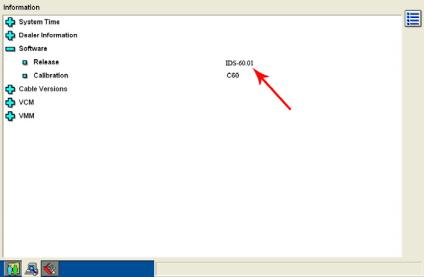
Verify IDS Software Level
The system information page will display the software release level. In this example IDS software release is at IDS-60.01.
Congratulations! You are now finished with the IDS installation and update.
Removing/UnInstalling IDS
To remove/uninstall IDS:
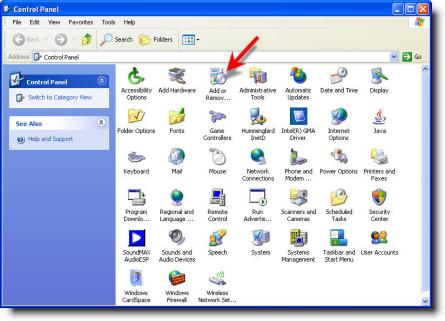
1. Select Start > (Settings) >Control Panel > Add or Remove Programs.
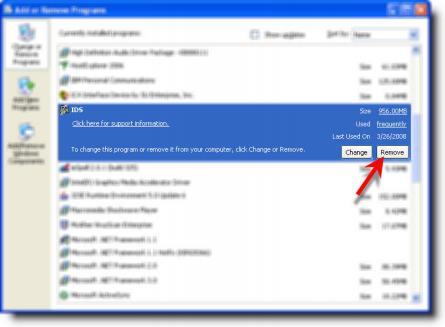
2. Find IDS in the list, select it and choose Remove.
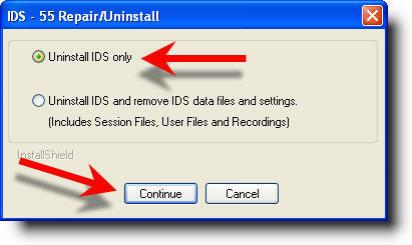
3. Select Uninstall IDS click Continue. Wait for the uninstall bar to complete. only, then progress
4. Once the uninstall is complete, select the option Yes, I want to restart my computer now. Then click Finish. IDS is now uninstalled.
