The JLR DoIP VCI (Diagnostic Communication Interface) is a powerful tool that allows you to diagnose and repair problems with your JLR vehicle. However, setting up the VCI to work with both JLR SDD and Pathfinder can be a bit tricky.
In this Article, we’ll show you how to set up your JLR DoIP VCI to work with both JLR SDD and Pathfinder. Our step-by-step guide will help you get the most out of your diagnostic communication interface.
What You’ll Need
Before you can set up your JLR DoIP VCI to work with both JLR SDD and Pathfinder, you’ll need to make sure you have all the necessary equipment and software. Here’s what you’ll need:
1. JLR DoIP VCI device: This is the diagnostic communication interface that connects to your JLR vehicle’s OBD-II port and communicates with the JLR SDD and Pathfinder software on your laptop.
2. JLR SDD software: This is the primary software used to diagnose and repair JLR vehicles 2005-2016.
3. Pathfinder software: This software is used for advanced diagnostics and programming, and it’s typically used by dealerships and experienced technicians. It works for JLR vehicles 2016-2022 and on TOPIx Cloud 2022-2023
4. Laptop with Windows 7 or higher operating system: You’ll need a laptop with enough processing power and memory to run both JLR SDD and Pathfinder smoothly. Make sure your laptop meets the minimum system requirements for each software.
5. Ethernet cable: You’ll need an Ethernet cable to connect your JLR DoIP VCI to your laptop. Make sure it’s long enough to reach from your vehicle to your laptop
Once you have all the necessary equipment and software, you’re ready to move on to setting up JLR SDD.
Setting Up JLR SDD
The first step in setting up your JLR DoIP VCI to work with both JLR SDD and Pathfinder is to install and configure JLR SDD. Here’s how to do it:
Installing and Configuring JLR SDD
1. Visit the official JLR website or an authorized vendor to purchase and download the latest version of JLR SDD software.
2. Install the JLR SDD software on your laptop. Follow the on-screen instructions and enter your registration details when prompted.
3. Once the installation is complete, connect your JLR DoIP VCI to your laptop using the Ethernet cable.
4. Open the JLR SDD software and navigate to the “Settings” menu.
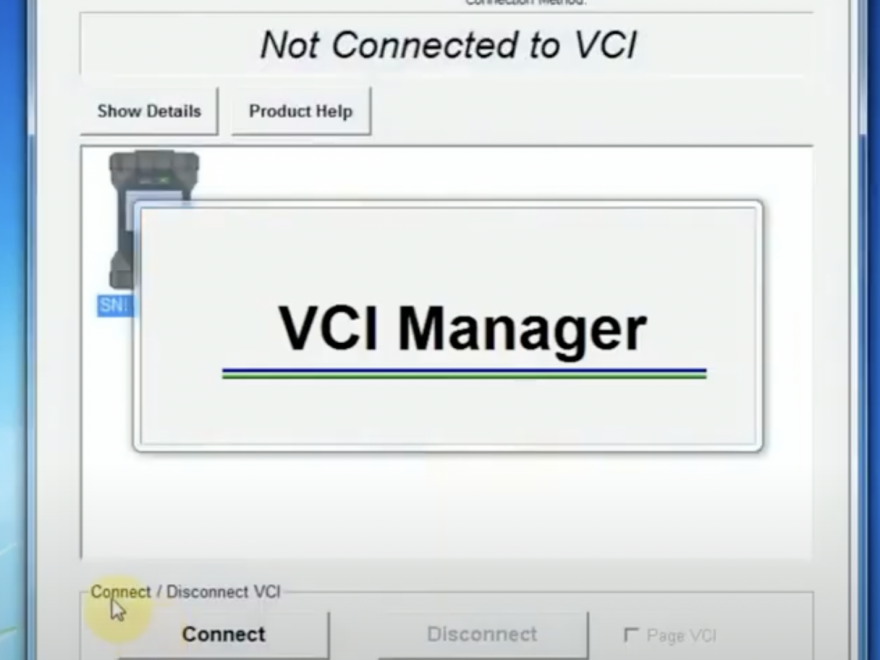
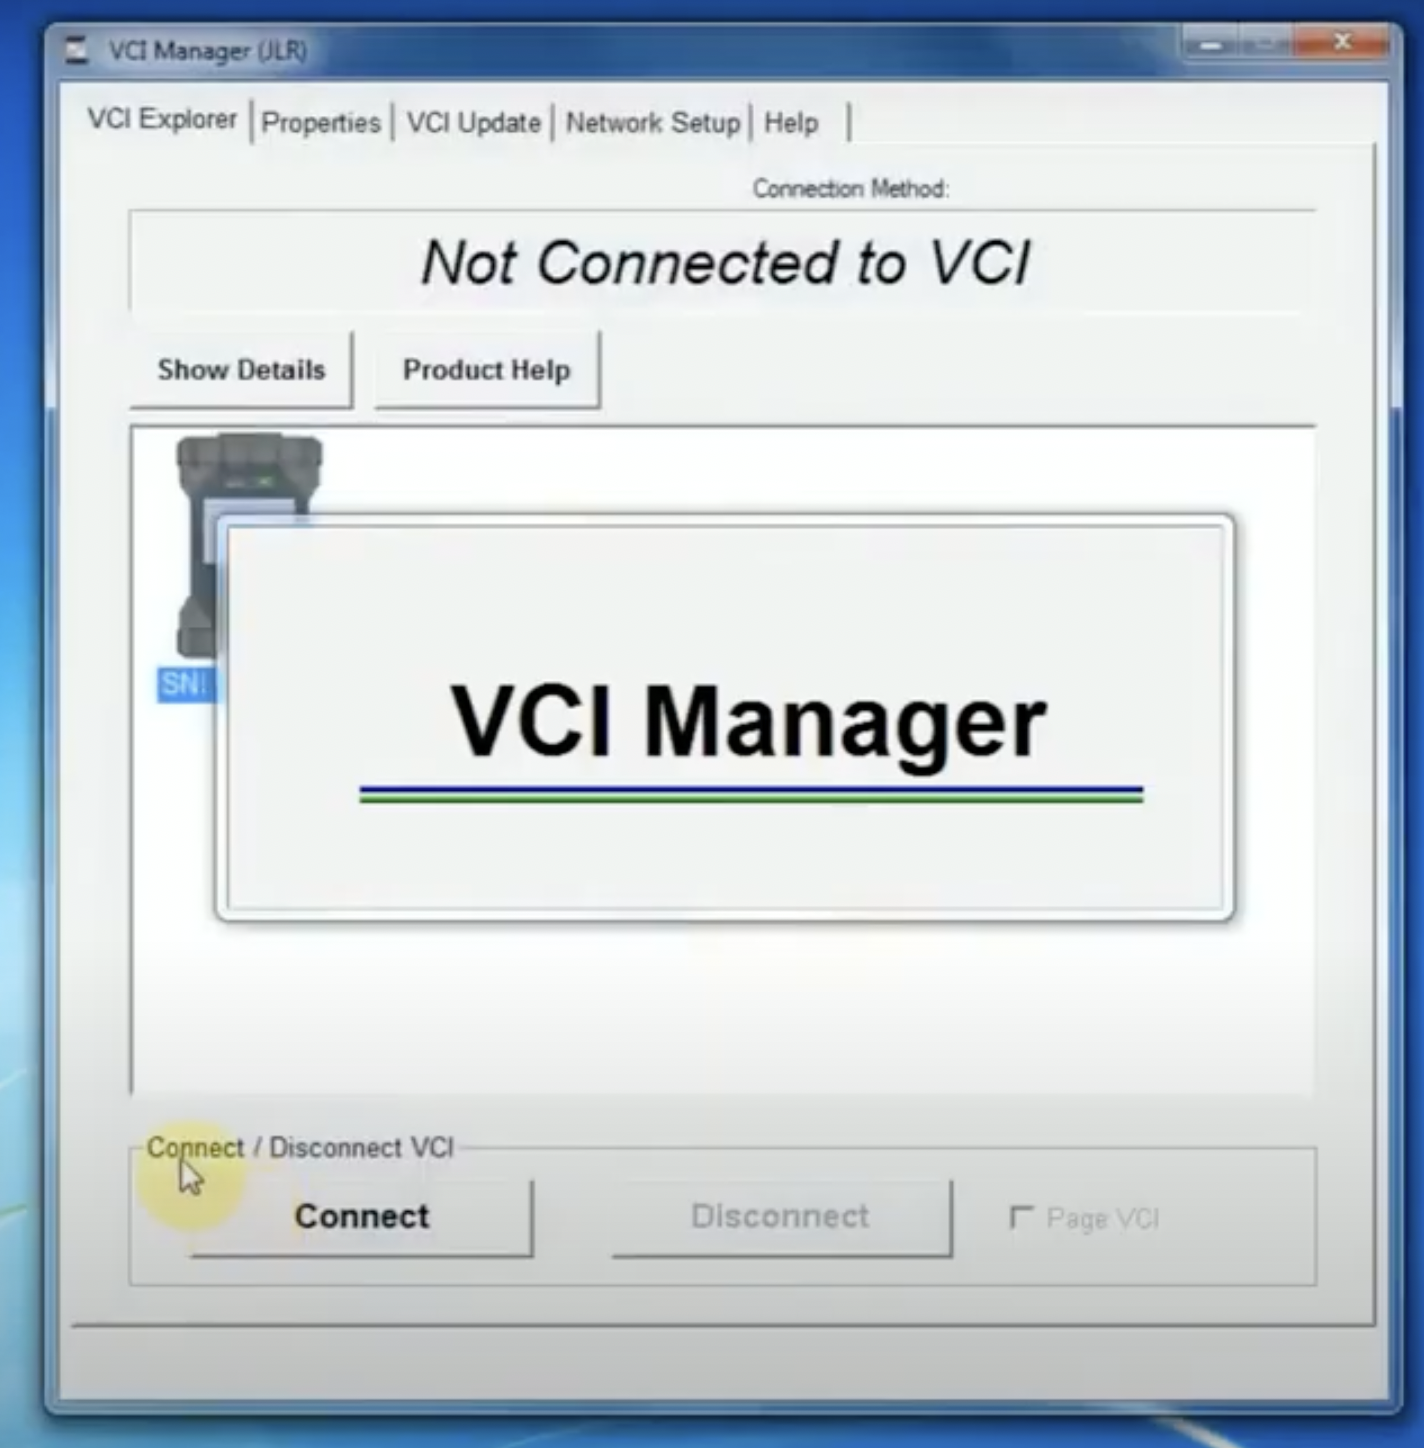
5. In the “Settings” menu, select “Vehicle Communication Interface (VCI) Setup” and then “JLRVCI”.
6. Click on “Detect” to ensure that your JLR DoIP VCI device is recognized by the software.
7. Once your device is detected, select “Use the detected VCI” and click “Save”.
Connecting Your JLR DoIP VCI to Your Laptop
1. With your JLR DoIP VCI device still connected to your laptop, navigate to the “Diagnostic Program” menu in the JLR SDD software.
2. Click on “Start” to initiate the diagnostic program.
3. In the “Vehicle Identification” menu, select the appropriate vehicle model and year.
4. Follow the on-screen instructions to diagnose and repair any issues with your JLR vehicle.
By following these steps, you should now have successfully installed and configured JLR SDD on your laptop and connected your JLR DoIP VCI to the software. In the next section, we’ll show you how to set up Pathfinder.
Setting Up Pathfinder
In addition to JLR SDD, you’ll also need to set up Pathfinder to use your JLR DoIP VCI device for advanced diagnostics and programming. Here’s how to do it:
Installing and Configuring Pathfinder
1. Visit the official JLR website or an authorized vendor to purchase and download the latest version of Pathfinder software.
2. Install the Pathfinder software on your laptop. Follow the on-screen instructions and enter your registration details when prompted.
3. Once the installation is complete, connect your JLR DoIP VCI to your laptop using the Ethernet cable.
4. Open the Pathfinder software and navigate to the “Settings” menu.
5. In the “Settings” menu, select “Communication Tools” and then “D-PDU API”.
6. Click on “Add” and select “DoIP”.
7. Fill in the necessary information, including the IP address of your JLR DoIP VCI device and the Ethernet port you’re using, and click “Save”.
Setting Up Your Ethernet Connection
1. Open the Control Panel on your laptop and navigate to “Network and Sharing Center”.
2. Select “Change adapter settings” and then right-click on your Ethernet connection.
3. Select “Properties” and then double-click on “Internet Protocol Version 4 (TCP/IPv4)”.
4. Select “Use the following IP address” and enter the following details:
IP address: 169.254.0.1
Subnet mask: 255.255.0.0
5. Click “OK” to save the changes.
6. Open the Pathfinder software and navigate to the “Diagnostics” menu.
7. Click on “Connect to vehicle” and select the appropriate vehicle model and year.
8. Follow the on-screen instructions to diagnose and repair any issues with your JLR vehicle.
By following these steps, you should now have successfully set up Pathfinder on your laptop and connected your JLR DoIP VCI to the software. In the next section, we’ll show you how to connect your JLR DoIP VCI to both JLR SDD and Pathfinder.
Connecting Your JLR DoIP VCI to Both JLR SDD and Pathfinder
Now that you have set up both JLR SDD and Pathfinder, you can connect your JLR DoIP VCI device to both software programs for comprehensive diagnostics and programming. Here’s how to do it:
Connecting Your JLR DoIP VCI to JLR SDD
1. Ensure that your JLR DoIP VCI device is connected to your laptop using the Ethernet cable.
2. Open the JLR SDD software and navigate to the “Diagnostic Program” menu.
3. Click on “Start” to initiate the diagnostic program.
4. In the “Vehicle Identification” menu, select the appropriate vehicle model and year.
5. Follow the on-screen instructions to diagnose and repair any issues with your JLR vehicle.
Connecting Your JLR DoIP VCI to Pathfinder
1. Ensure that your JLR DoIP VCI device is connected to your laptop using the Ethernet cable.
2. Open the Pathfinder software and navigate to the “Diagnostics” menu.
3. Click on “Connect to vehicle” and select the appropriate vehicle model and year.
4. Follow the on-screen instructions to diagnose and repair any issues with your JLR vehicle.
Switching Between JLR SDD and Pathfinder
1. To switch between JLR SDD and Pathfinder, simply disconnect your JLR DoIP VCI device from one software program and connect it to the other.
2. You may need to repeat the setup steps for each software program if you’re switching between them frequently.
By following these steps, you should now be able to connect your JLR DoIP VCI device to both JLR SDD and Pathfinder for advanced diagnostics and programming. Remember to refer to the video tutorial for step-by-step guidance. At Obd2tool.com, we offer original dealer-level diagnostics softwares developed by brands such as JLR SDD, JLR Pathfinder, BMW ISTA+, VAG ODIS, and Mercedes Xentry. Contact us for more information.